Fashion With A Central Line

An image of Emma, a white woman with a dark bob sitting in a blue chair wearing a blue blouse and white jeans and gold lace up heels in front of an abstractly painted wall.
*Everyone has a different method of wearing clothing that works best for them; this article will be detailing the method that I use and what’s worked best for me.
How to put on clothes is a process of trial and error when you first get a central line (this applies heavily to PICC lines too, but this article will be covering chest lines specifically).
In this article, I’ll be showing you how I tuck my line into my clothes, how I put on clothes, how to use tubie clips, and what accessible clothing looks like for those of us with lines.
TO EXIT ABOVE, OR TO EXIT BELOW, THAT IS THE QUESTION
Every person starting on a central line, usually will ask the community’s advice as whether to have their line come out the ‘top’ of their clothes (the collar) or at the ‘bottom’ of their clothes (below the bottom of the shirt).
Whichever you end up choosing, will drastically change how you approach putting on your clothes. Keep in mind also, that this varies dependent on how long your infusion times are etc. (I find that folks with shorter infusion times tend to have their lines exit out of the top of their shirt whereas longer infusion folks tend to have it exit at the bottom, but ultimately, it’s what works best for you).
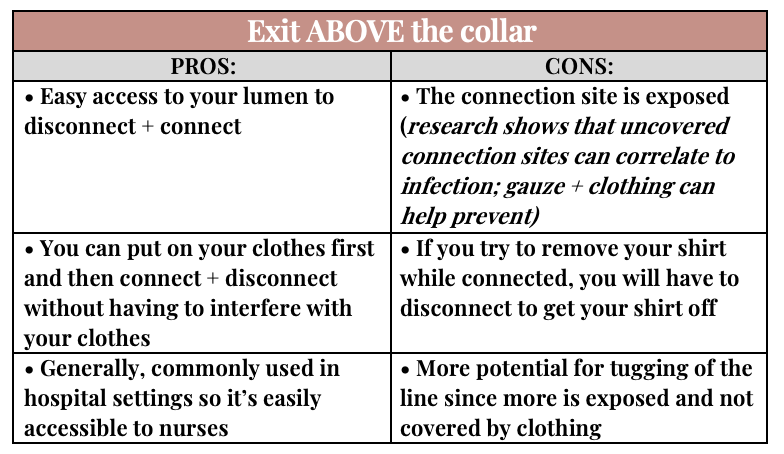
Citation for research showing covered connection points can decrease CLABSI risk: Lulgjuraj D, Buckenmyer T, Biel N. Evaluation of a line guard for pediatric central line-associated bloodstream infection prevention: a pre-post intervention study. Br J Nurs. 2025 Nov 20;34(21):S20-S25. doi: 10.12968/bjon.2025.0545. PMID: 41288029.
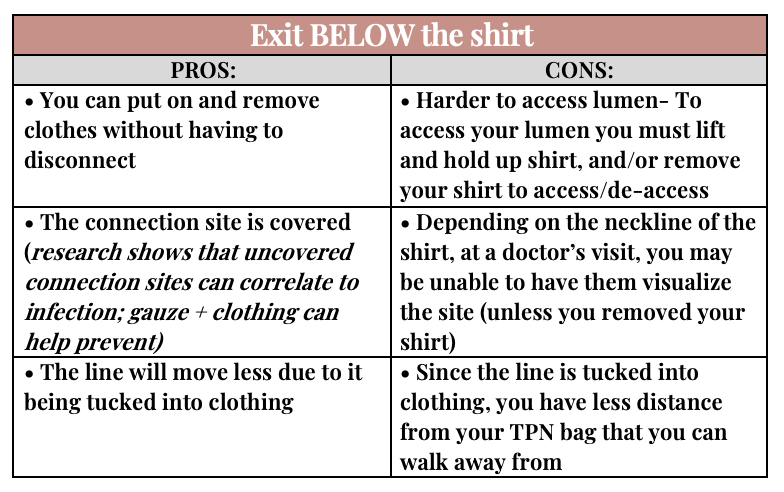
I personally have tried both, I initially started as an ‘above the shirt’ person, and I found it was really difficult to manage my line, and I didn’t like how exposed it was to the world (such as rain, wind, etc.). Once I tried the line exiting the bottom of the shirt, I knew that was the right method for me. I’ve been using this method for the past 4 ½ years and I’m very happy with it!
HOW TO ‘TUCK’ THE LINE IN
*Tucking your line into your clothes is also dependent on your tubing length and if you’re able to have it tucked in and be able to stand away from your TPN bag and not have it untucked (this also applies if you’re a wheelchair user who hangs their bag behind them on their chair)
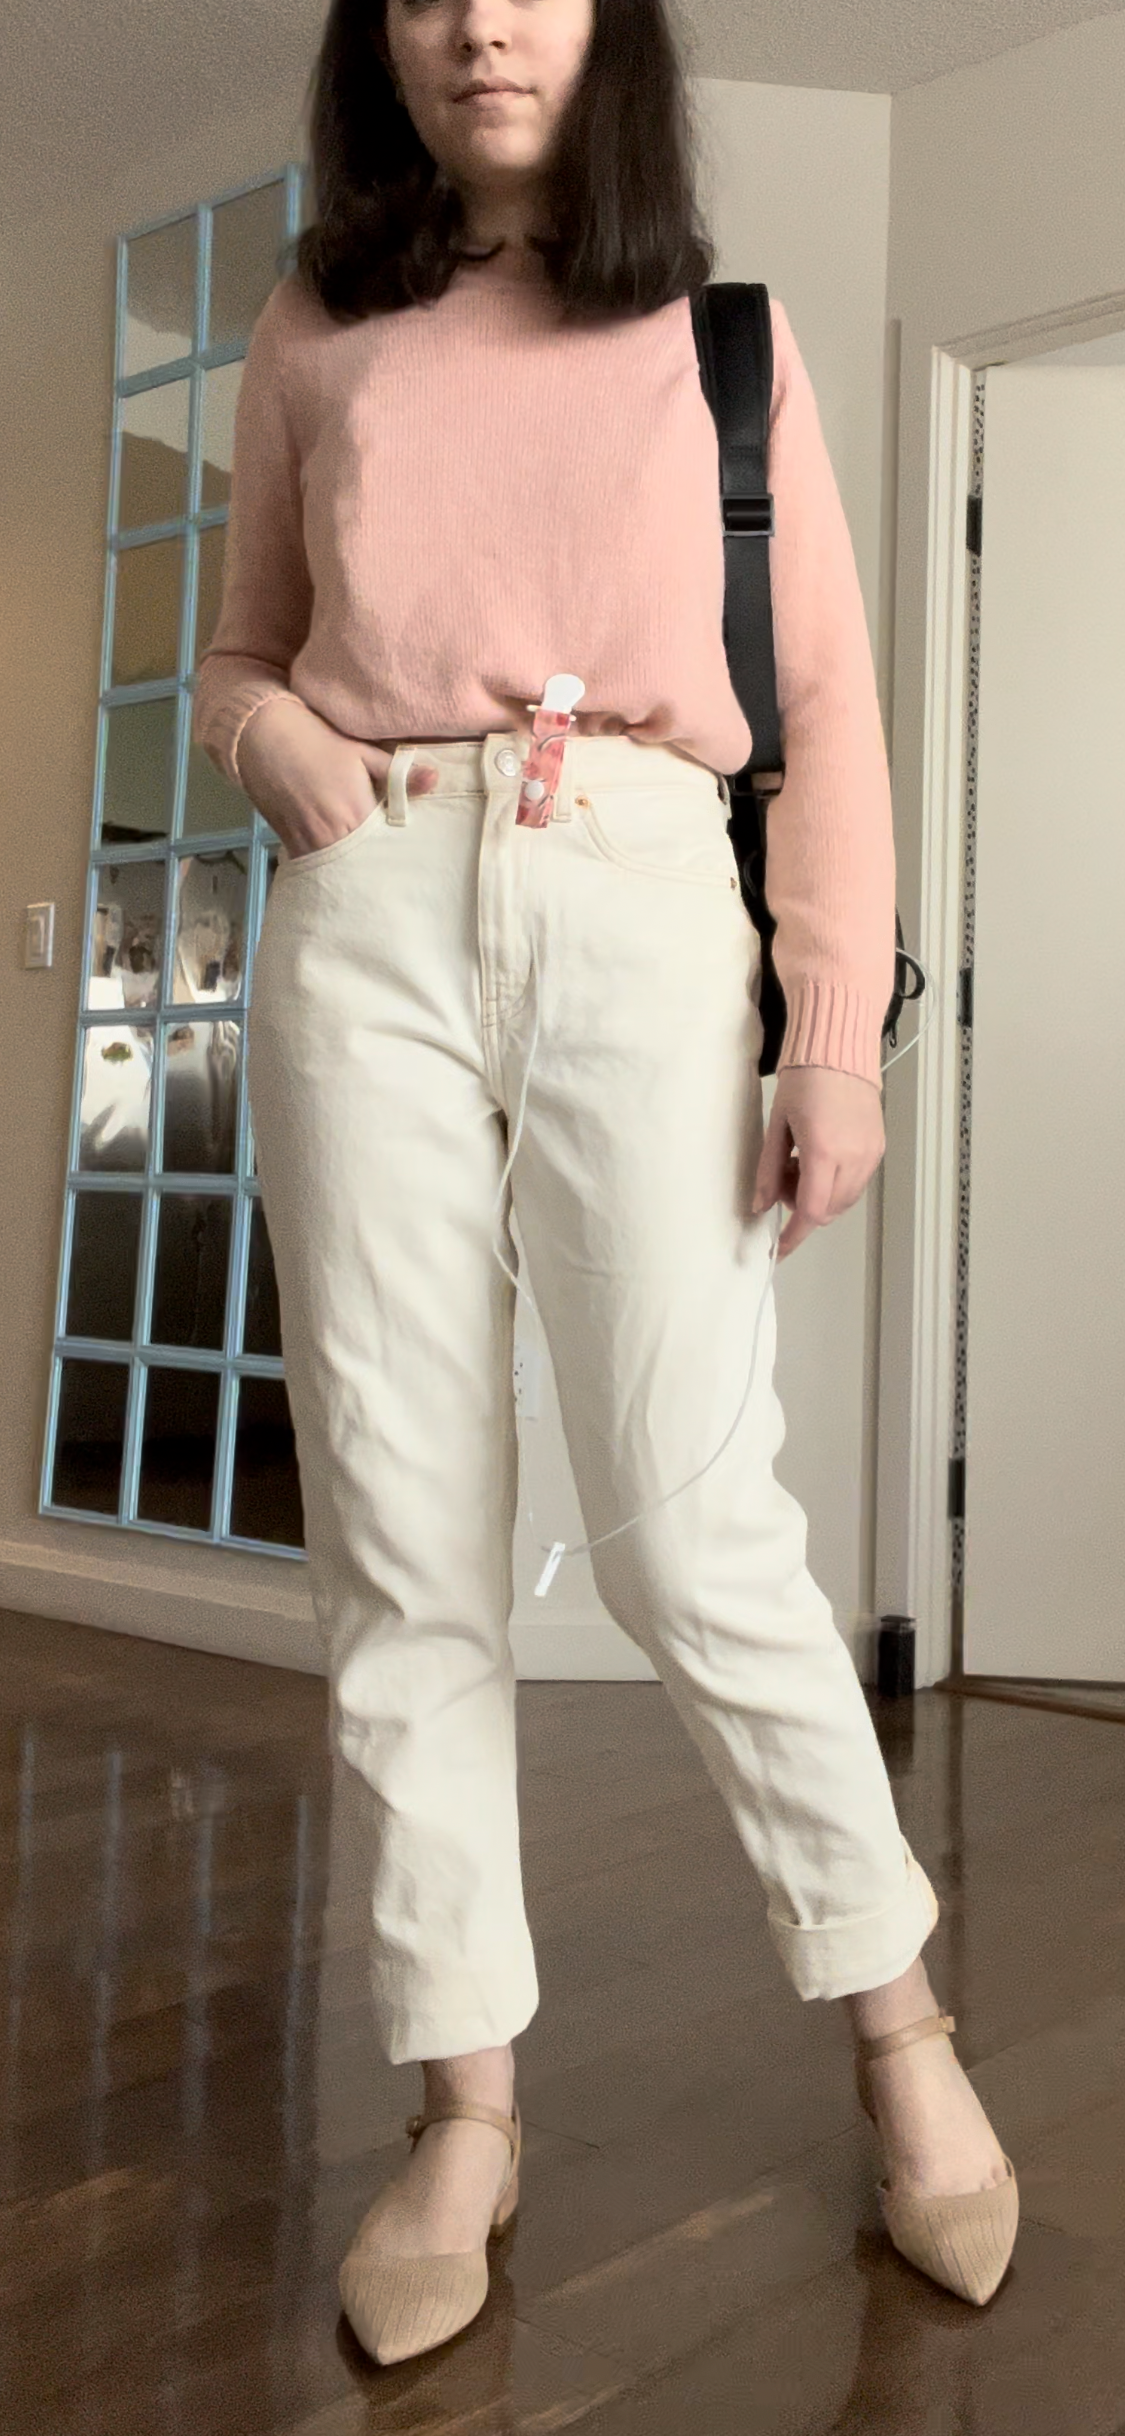
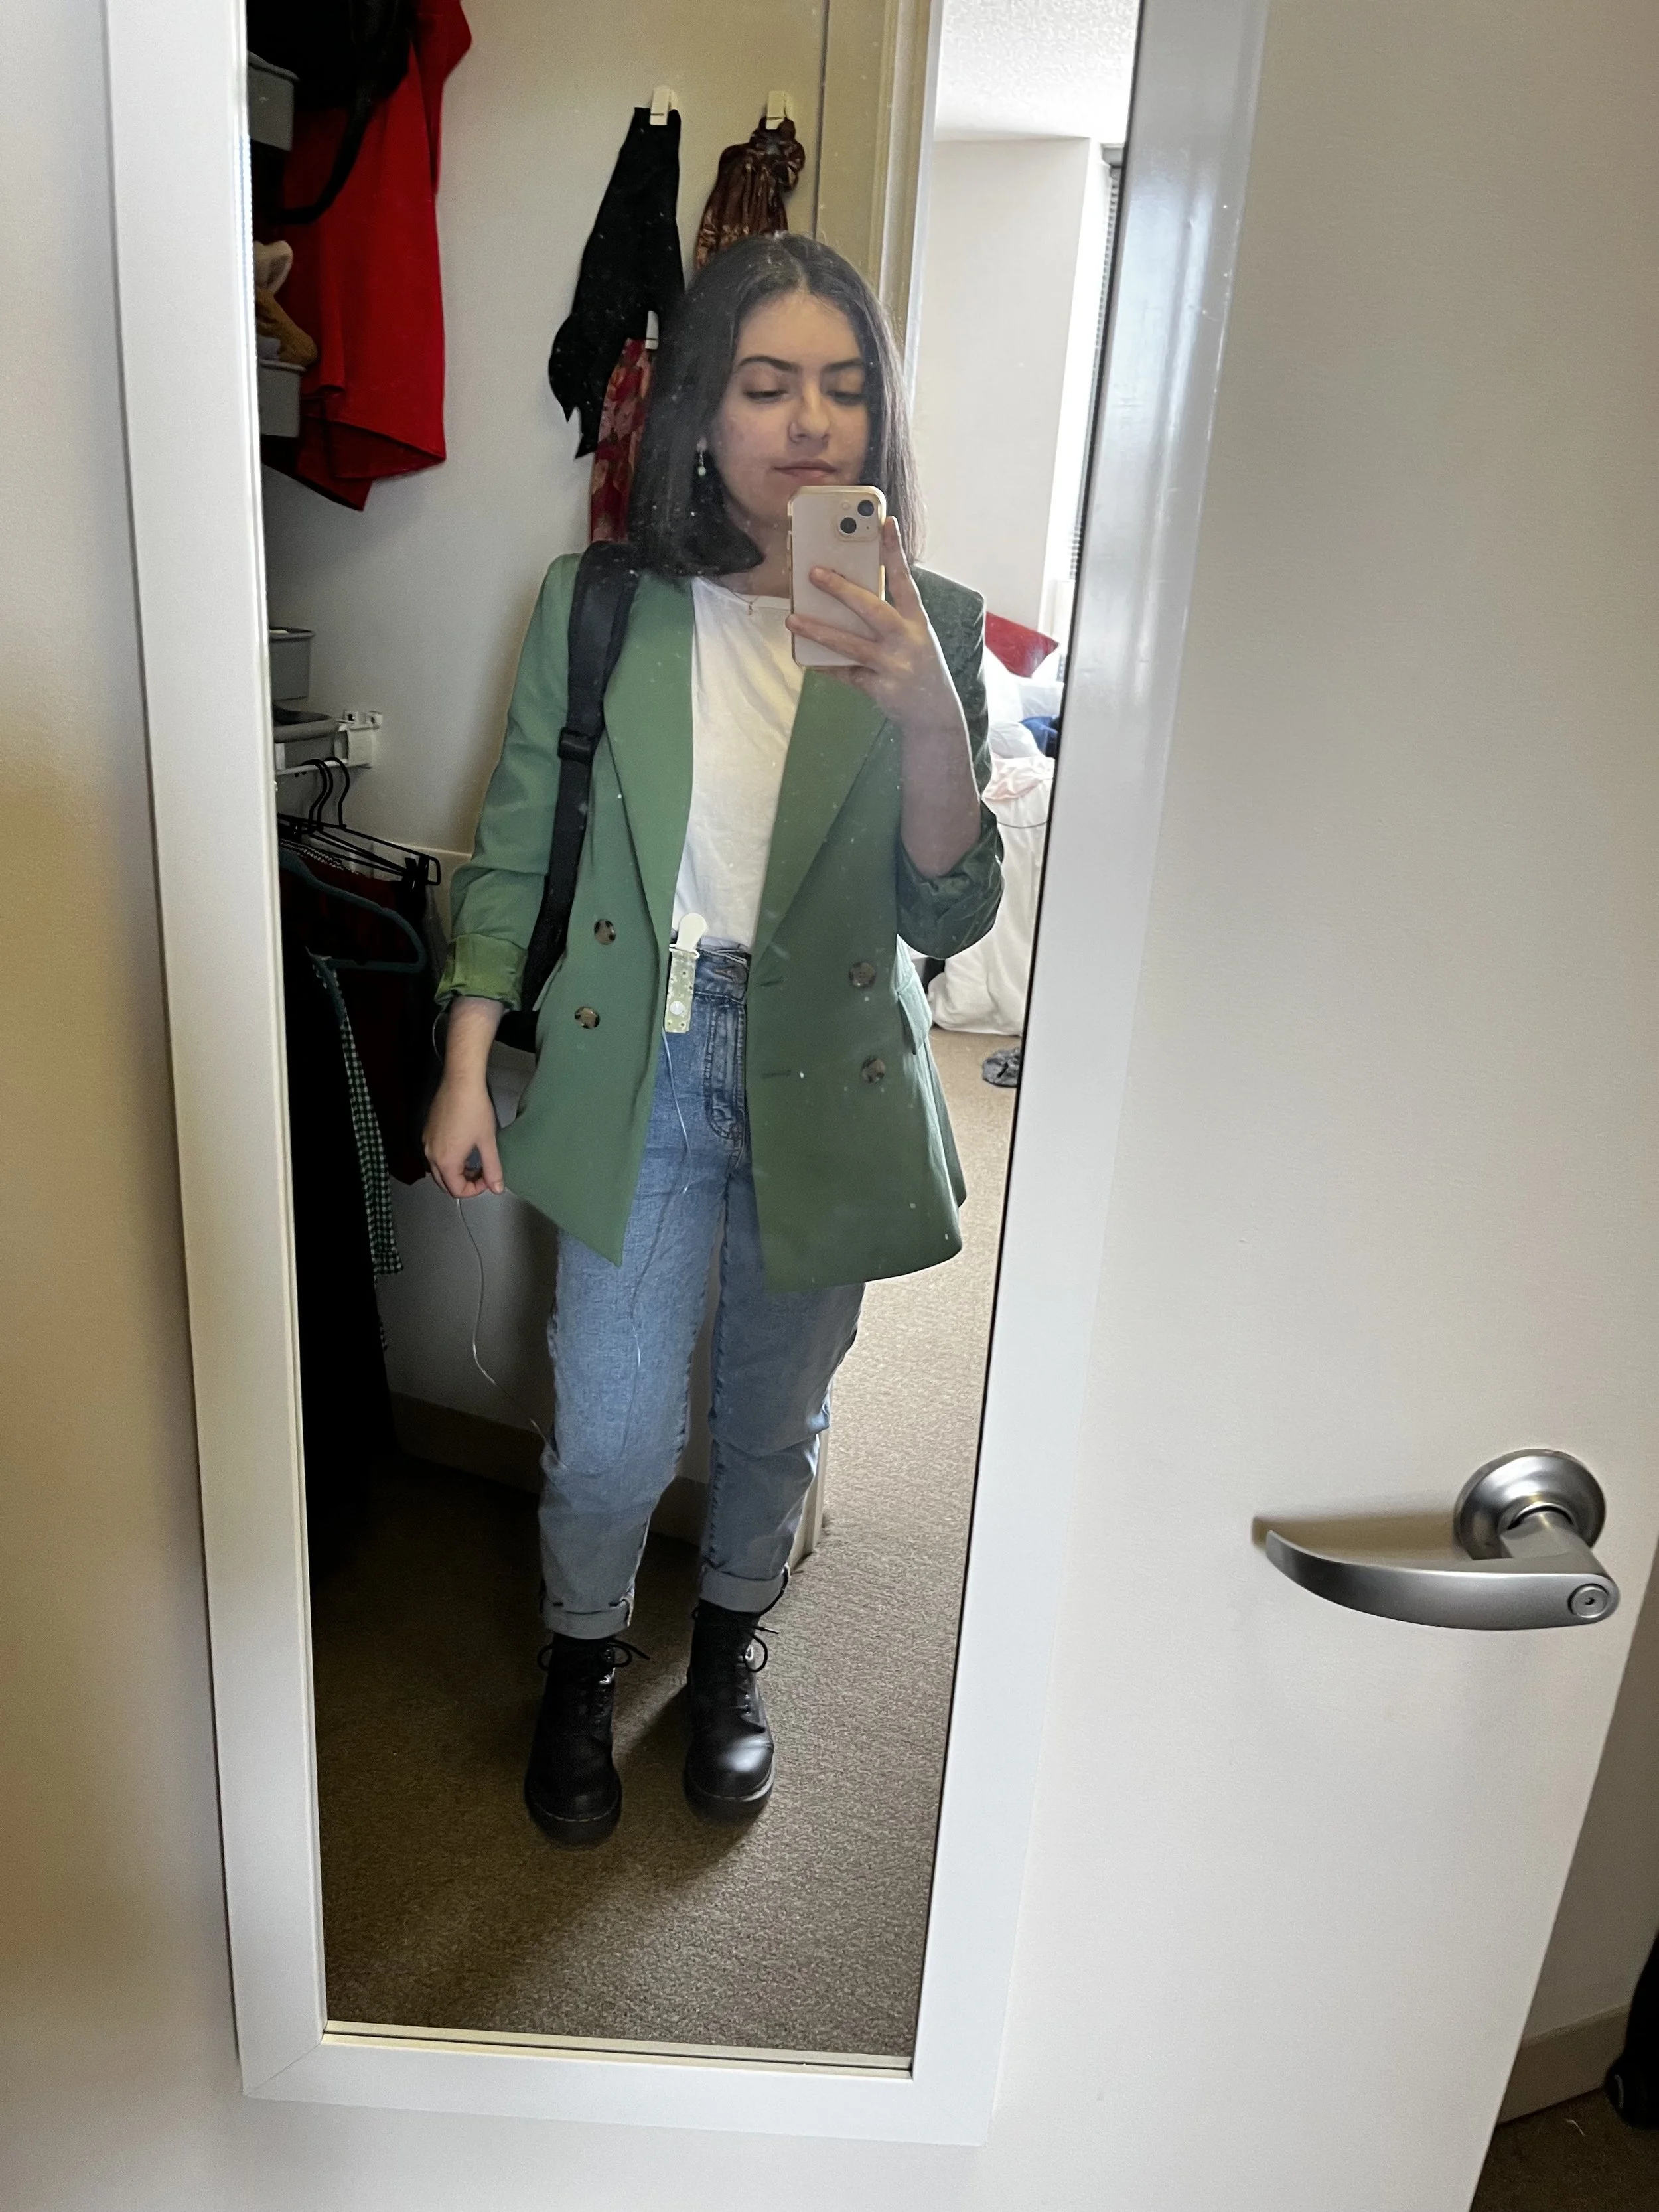
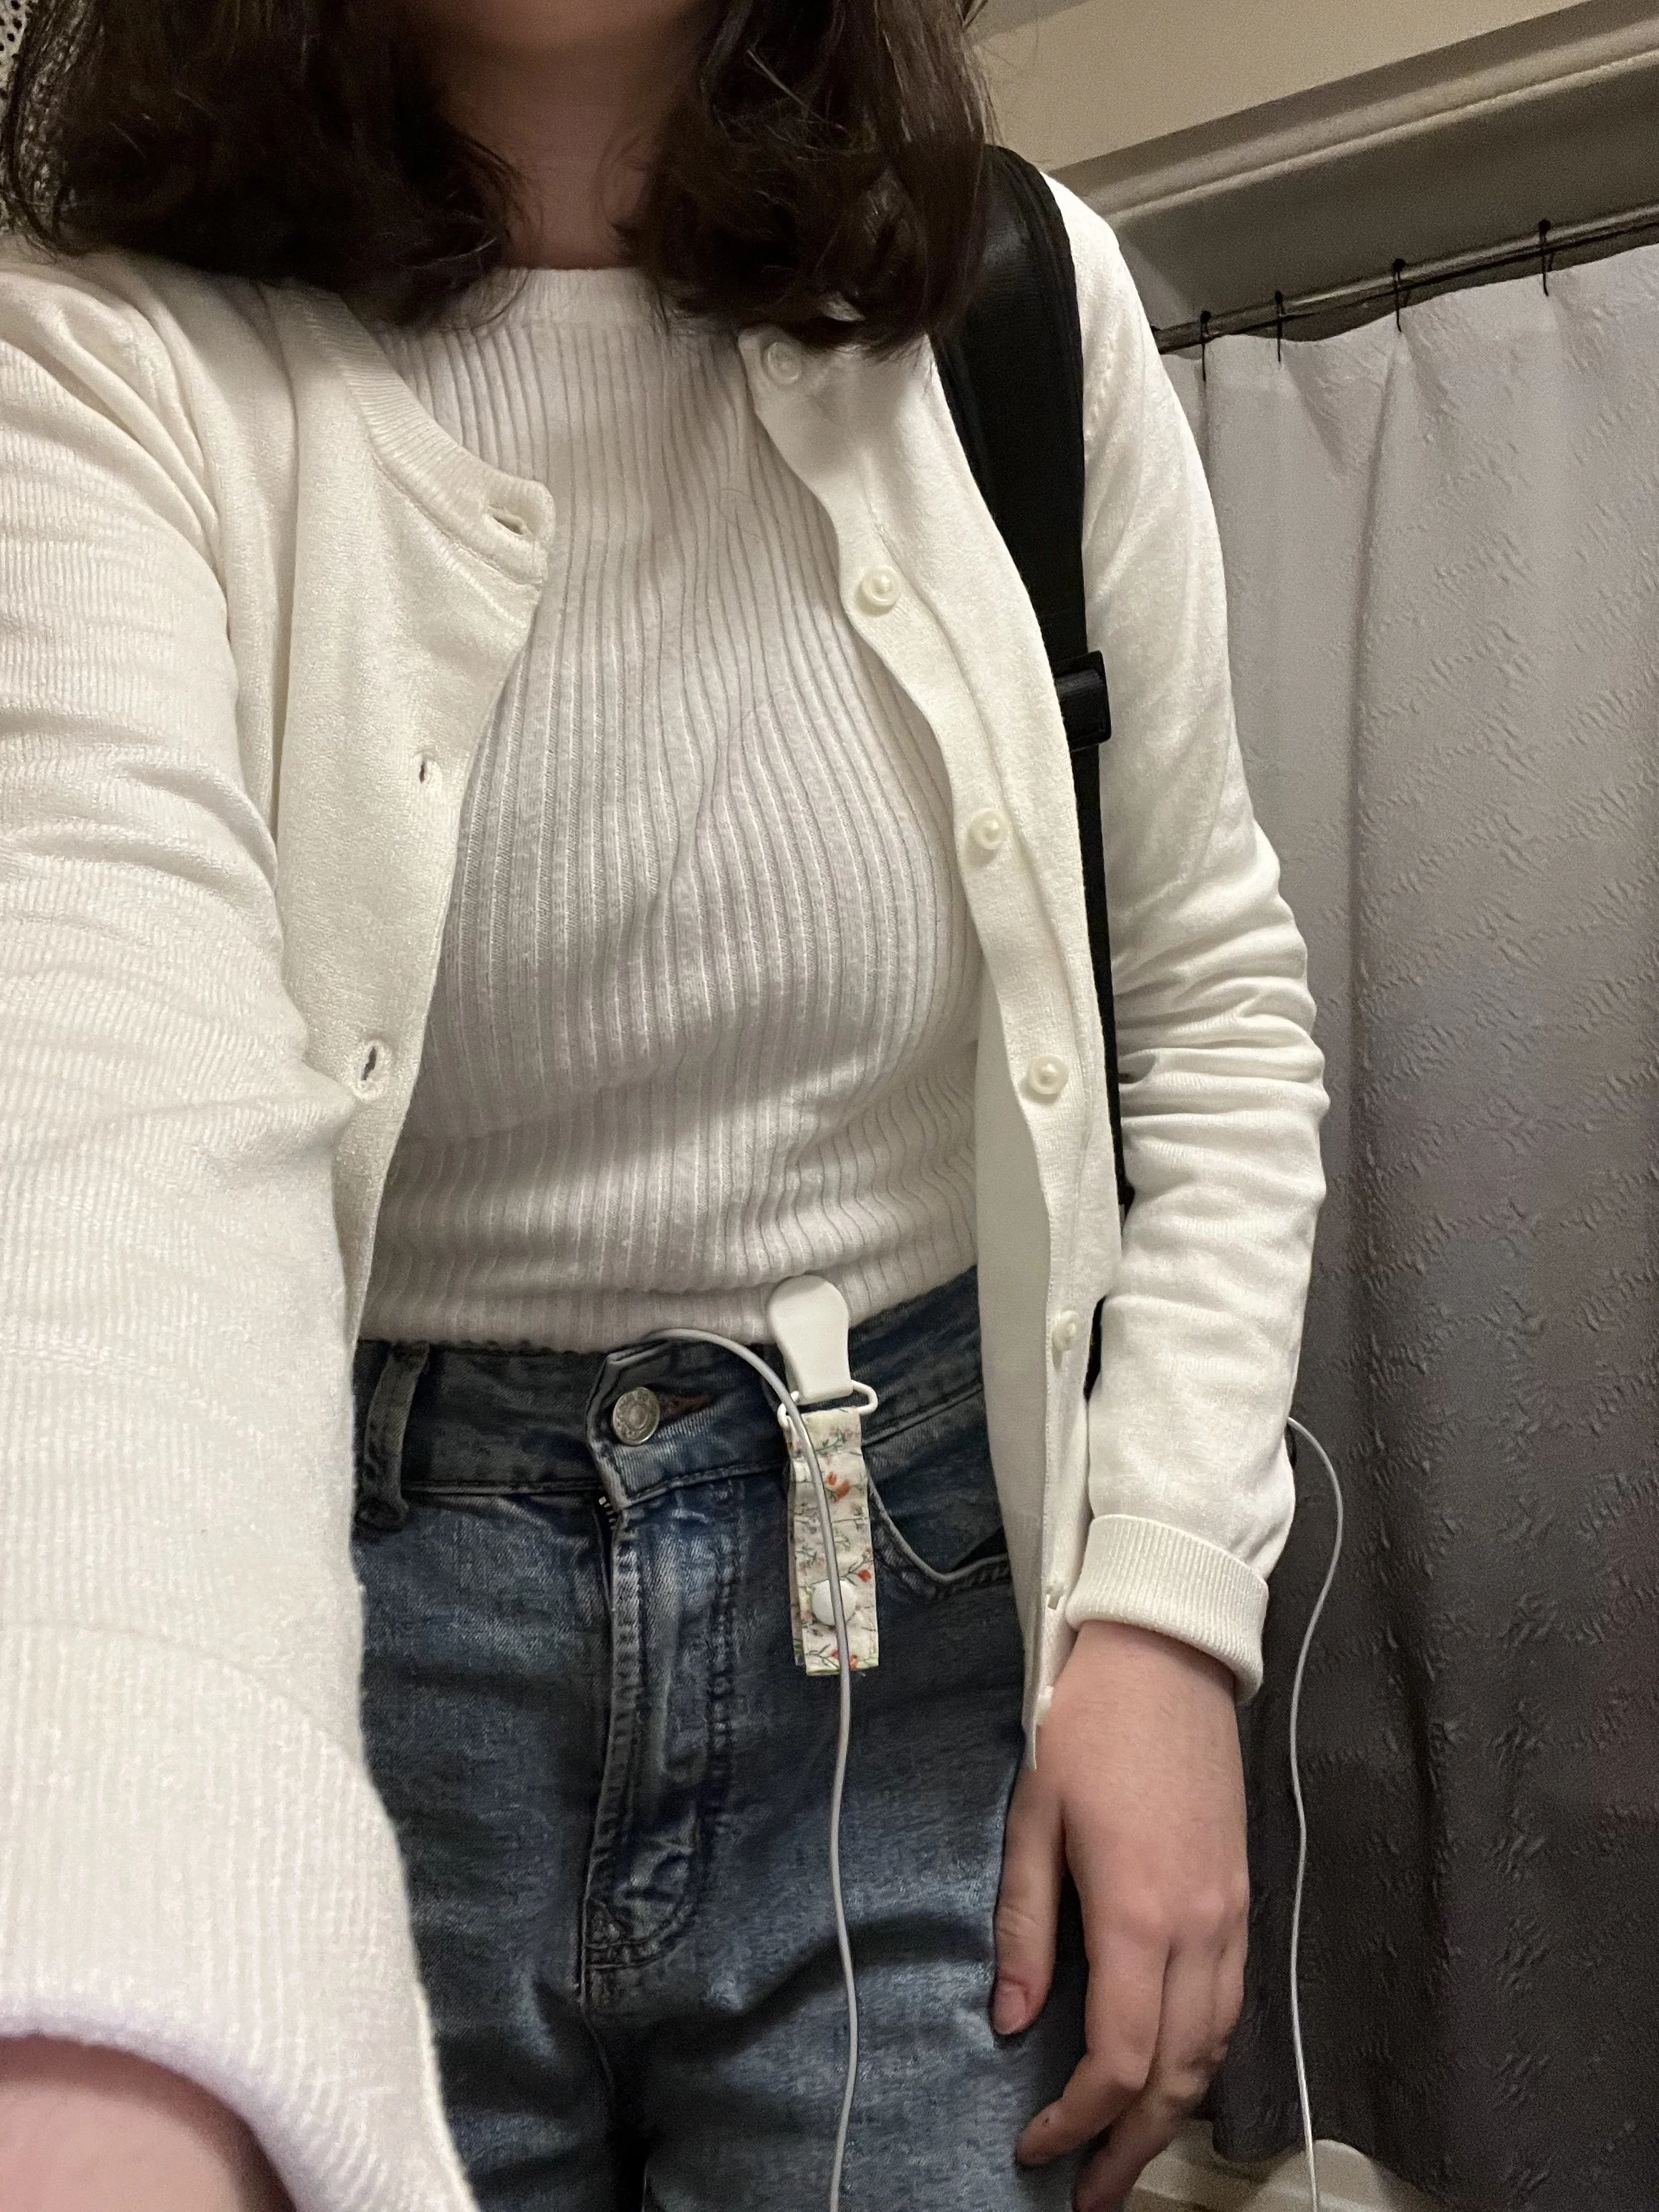
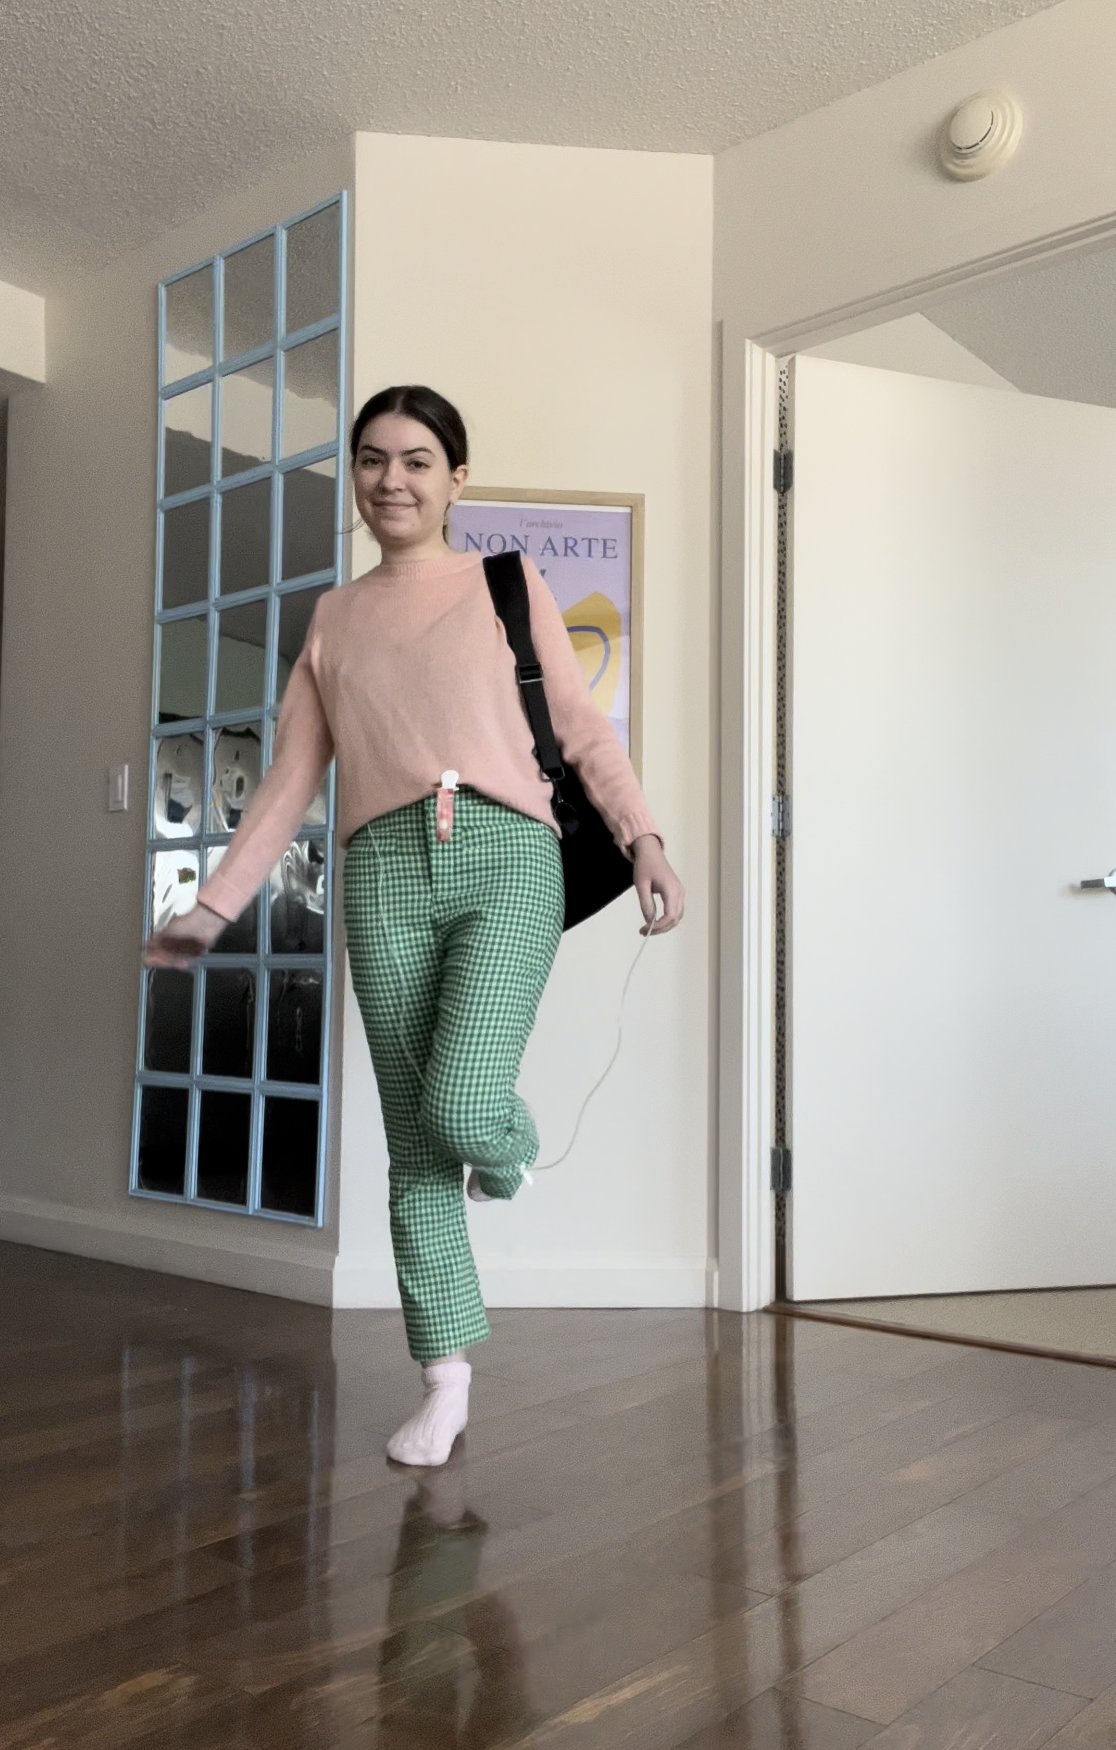
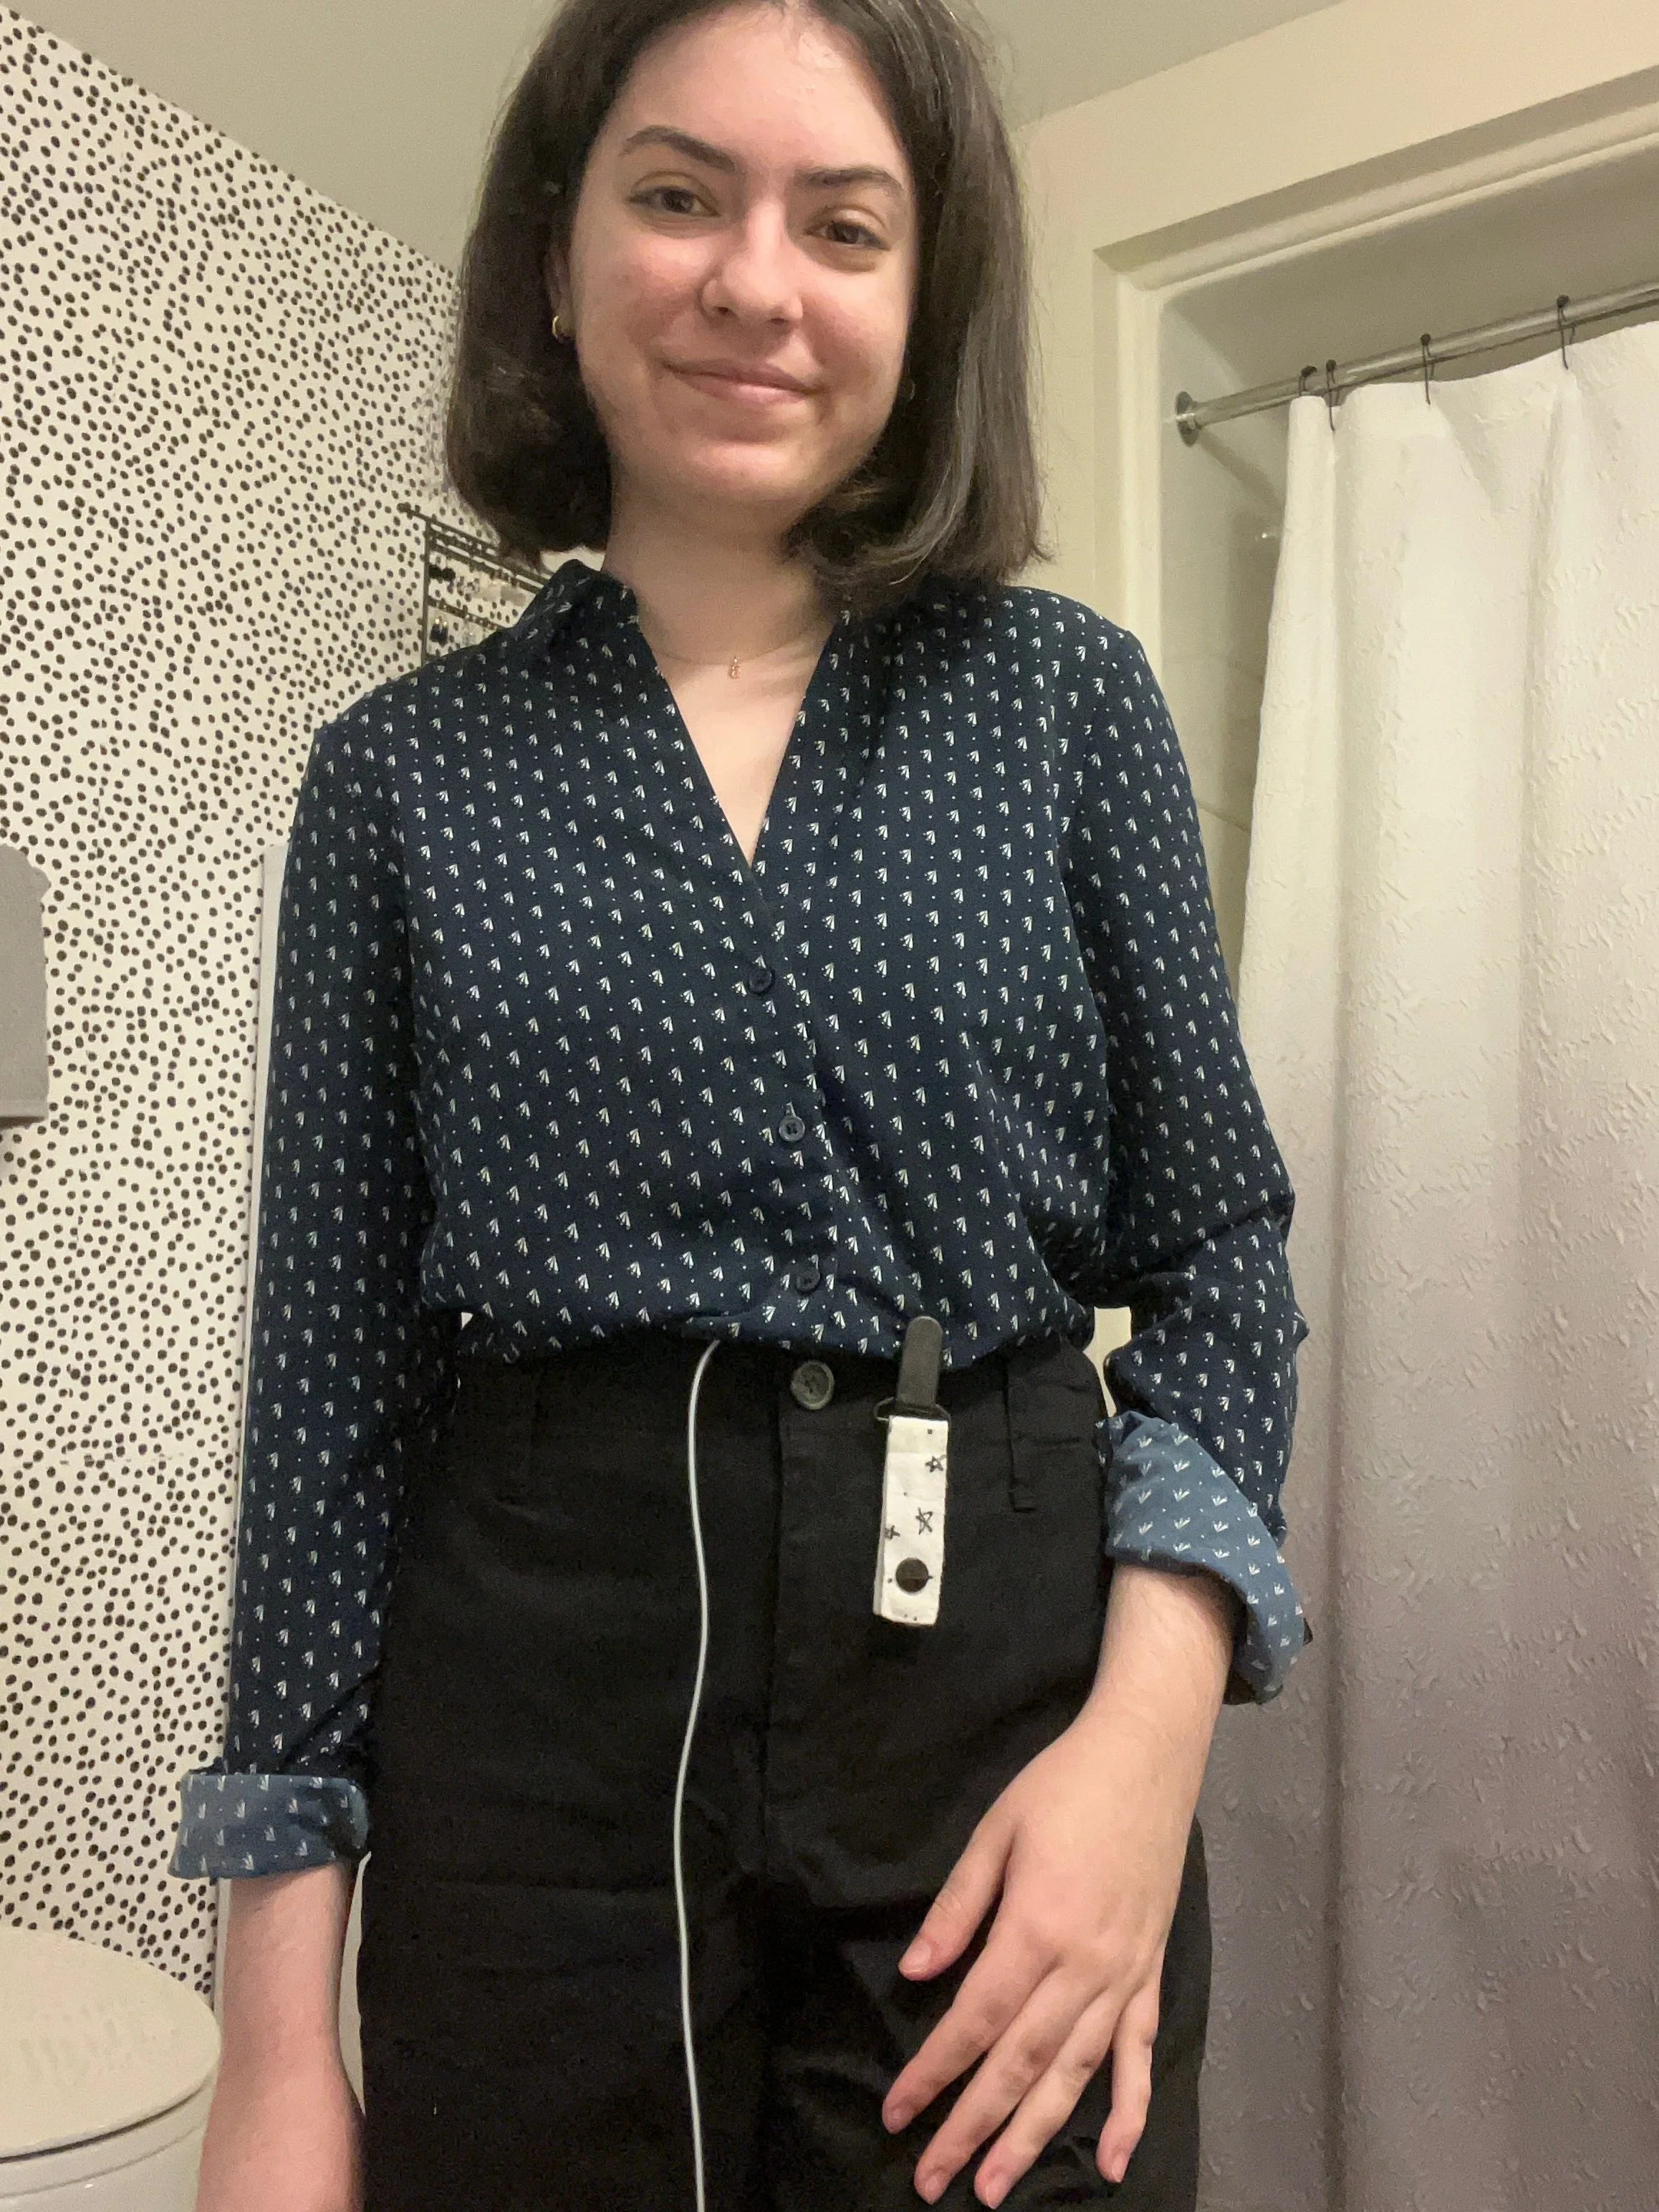
I always tuck in my line into my waistband of my pants because it does two things: one, it allows me to have a point to release tension in the line in case it gets pulled (it won’t pull at my surgery site but rather at my waistband), and two, it allows me to redirect the line to come up and out of my pants.
I prefer to always wear a tank top no matter my attire because I don’t like the line scraping/rubbing against my skin (which is both an infection risk and also a comfort thing) so my line will always be ‘sandwiched’ between two layers of fabric at all times (even with pajamas I wear a tank top and a pajama top).
**KEY THING TO CONSIDER: If you go the tank top route like myself, the tank top has to be put on LIKE PANTS- FROM THE BOTTOM UP. Since the tank top is UNDER your line, it needs to be put on like pants (or if you aren’t connected to your infusion 24/7 like me, you could put the tank top on normally (above your head) and then connect to your infusion). So, with this in mind, be sure tank top necklines can fit your waist as you pull them up.
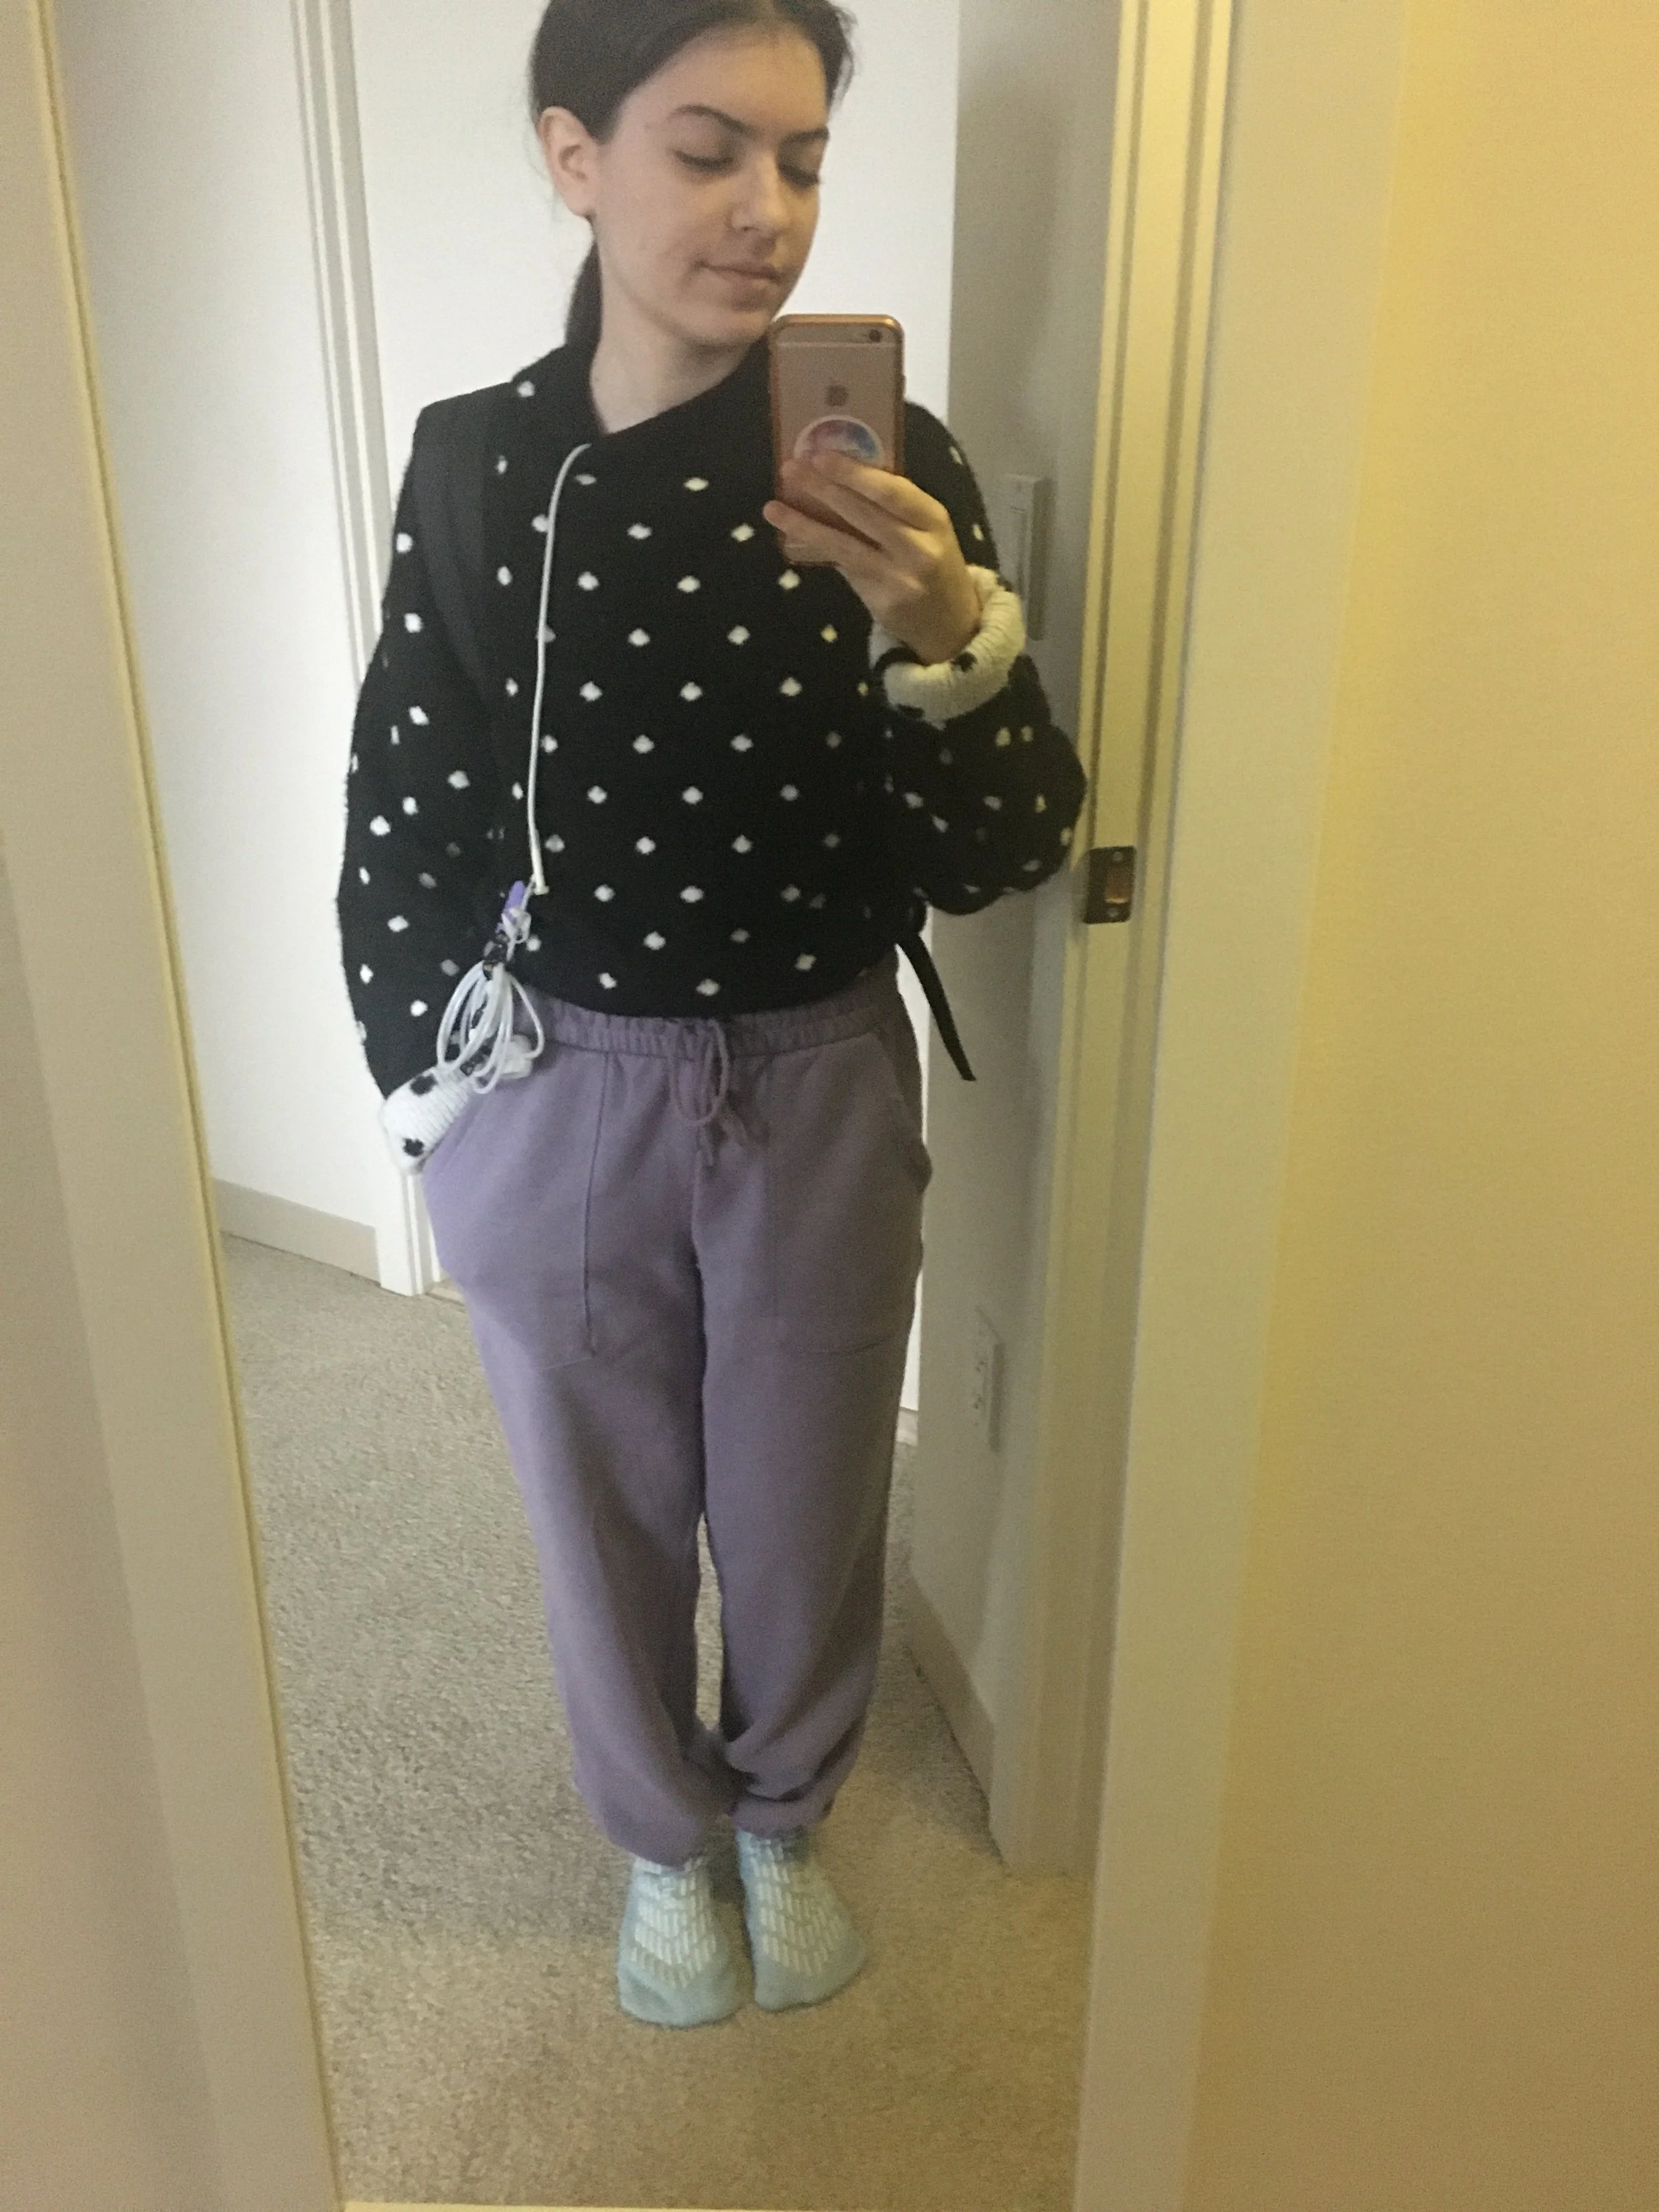
Here's a video of how to tuck in the tubing in two perspectives- what’s happening “under the shirt” on the right, and how to tuck in a shirt and the line on the left.
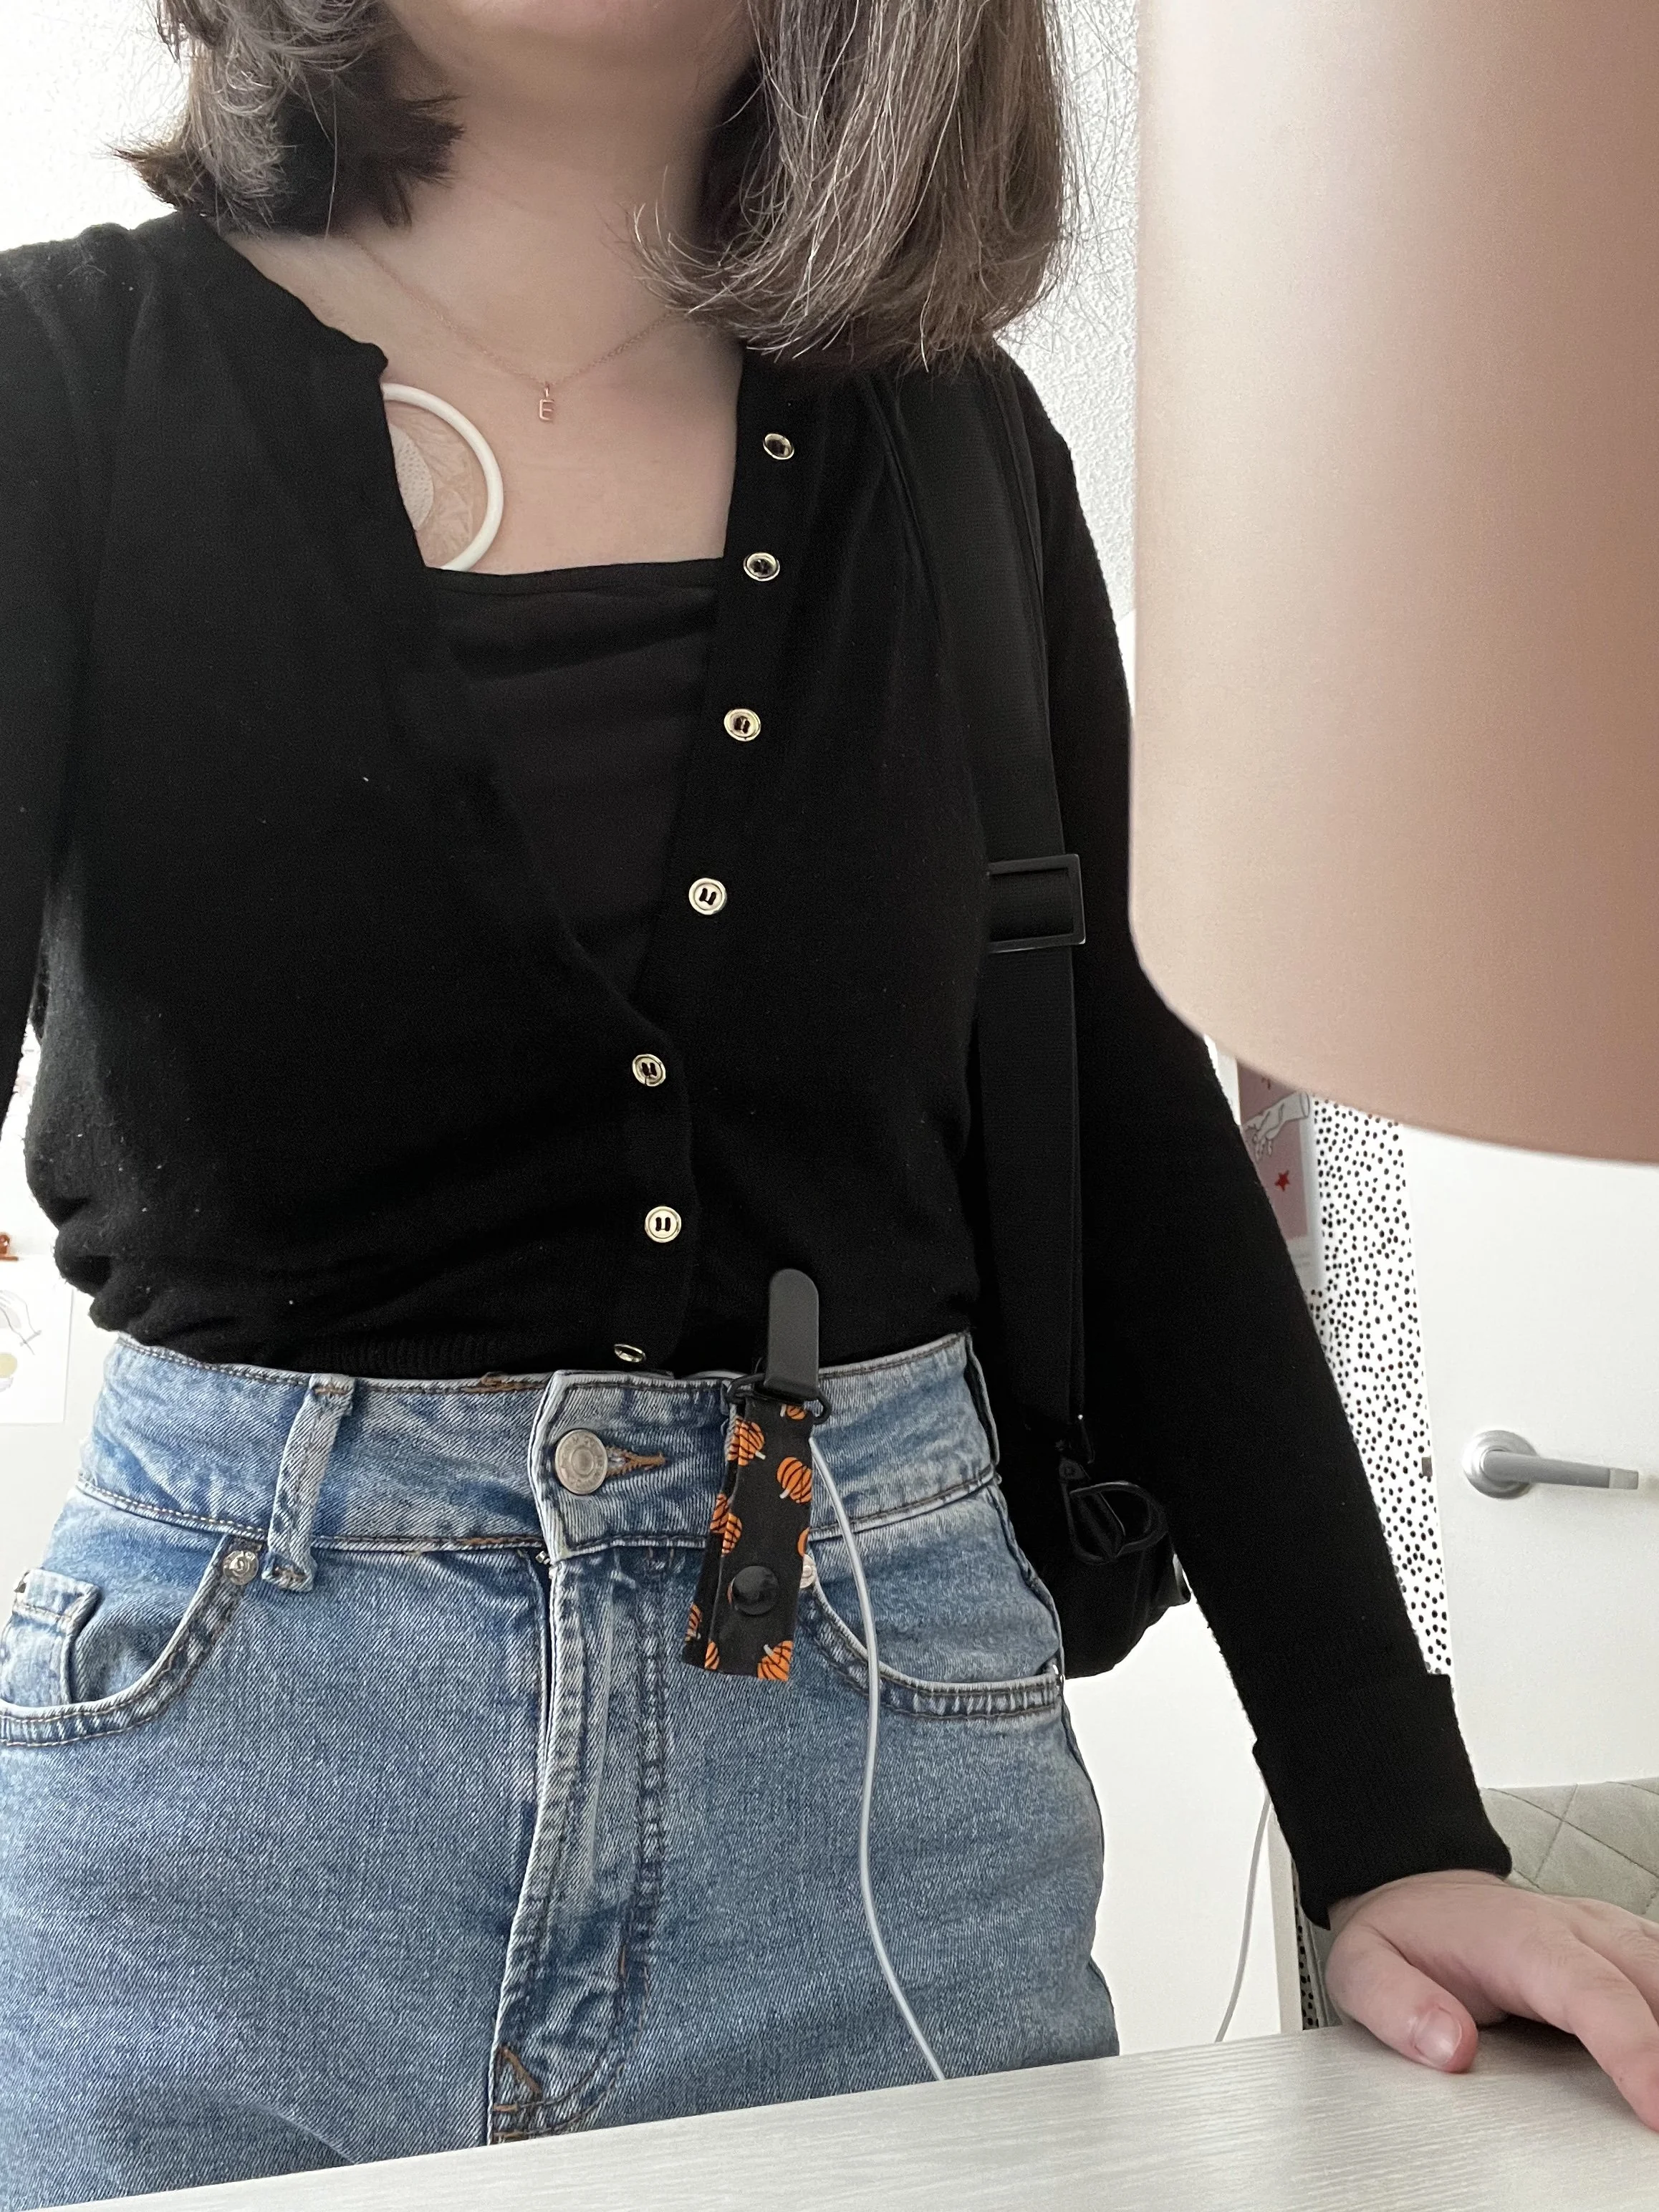
TUBIE CLIPS
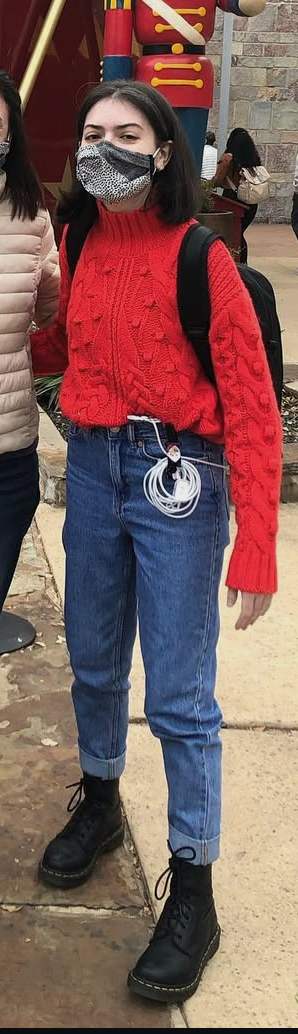
Tubie clips are very similar to pacifier clips (for the parents out there), which essentially can be clipped onto clothing and use snaps to hold together coiled up tubing. This keeps lines neatly coiled when you are moving around so they don’t get caught on things. They’re especially helpful when you’re out and about in the world so that they don’t get caught on other people (dogs, children, etc.). They are easy to snap and un-snap so you can let your tubing down when you reach your destination.
In my day-to-day life, I use tubie clips every day. They come in handy for me as a 24 hour TPN infuser because I leave my house all the time for work, doctors visits, etc. and I live in a city. It helps keep me safe and tangle-free!
You can find tubie clips on Etsy, as fellow members of the TPN community will hand-make them with fun fabrics to match your style. They also have a lot of options for kids and there’s even ones that are neutral solid colors with no patterns. Some tubie clips come with 2 snaps for those who are on enteral feeds as the tubing fits better in those. Find whichever works best for you and your type of tubing (for me I use the single snap ones).
*Also, depending on what type of tubing you use, it can cause the tubie clip to pull on your clothes dependant on how heavy the tubing is when coiled. I started on CADD Solis VIP tubing which was really heavy coiled and made holes in my shirts from the tubie clips tugging. I then got switched to Moog’s tubing with my Curlin pump which is a lot smaller in tubing diameter and lighter when coiled because it’s not as long.
Since I wear clips every single day, here’s my collection that I’ve made after almost 5 years (a lot of the folks who make these only make a few and then they get discontinued or their shops close- so be sure to grab a pattern while it’s available if you like it!)
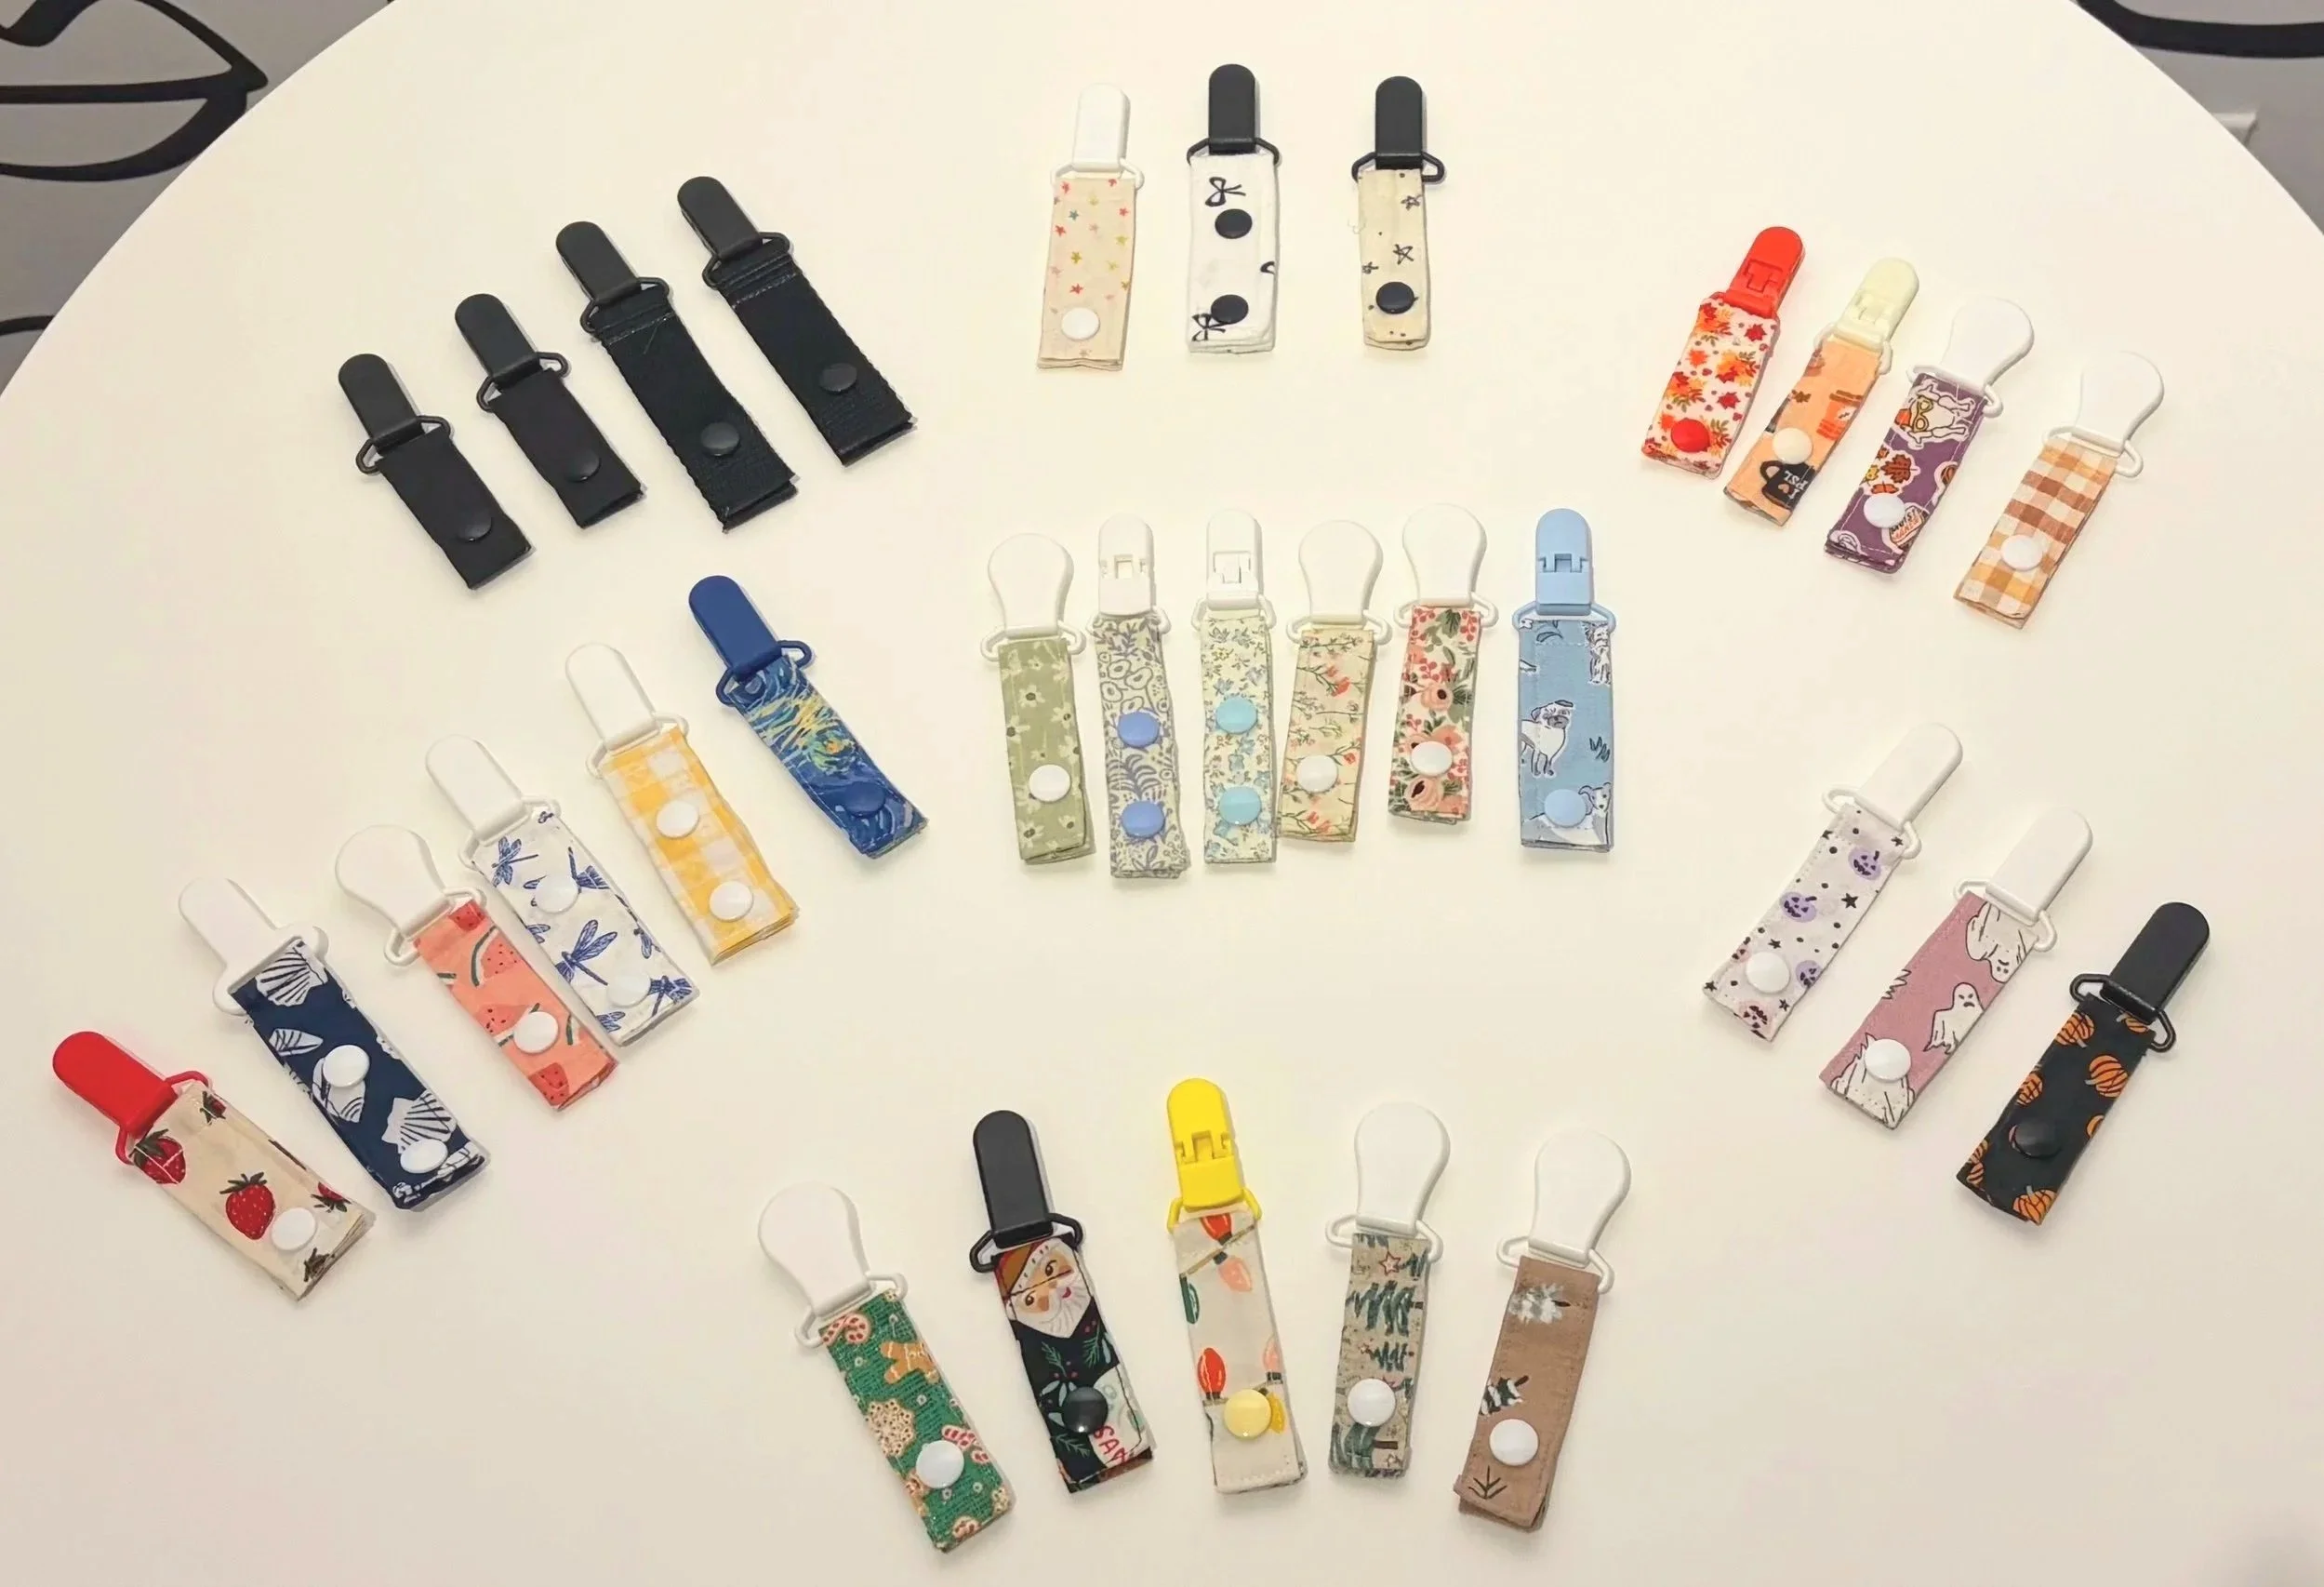
An image of 20+ colorful tubie clips organized by season/theme. There's christmas, halloween, fall, spring, summer, everyday, and black.
ACCESSIBLE CLOTHING
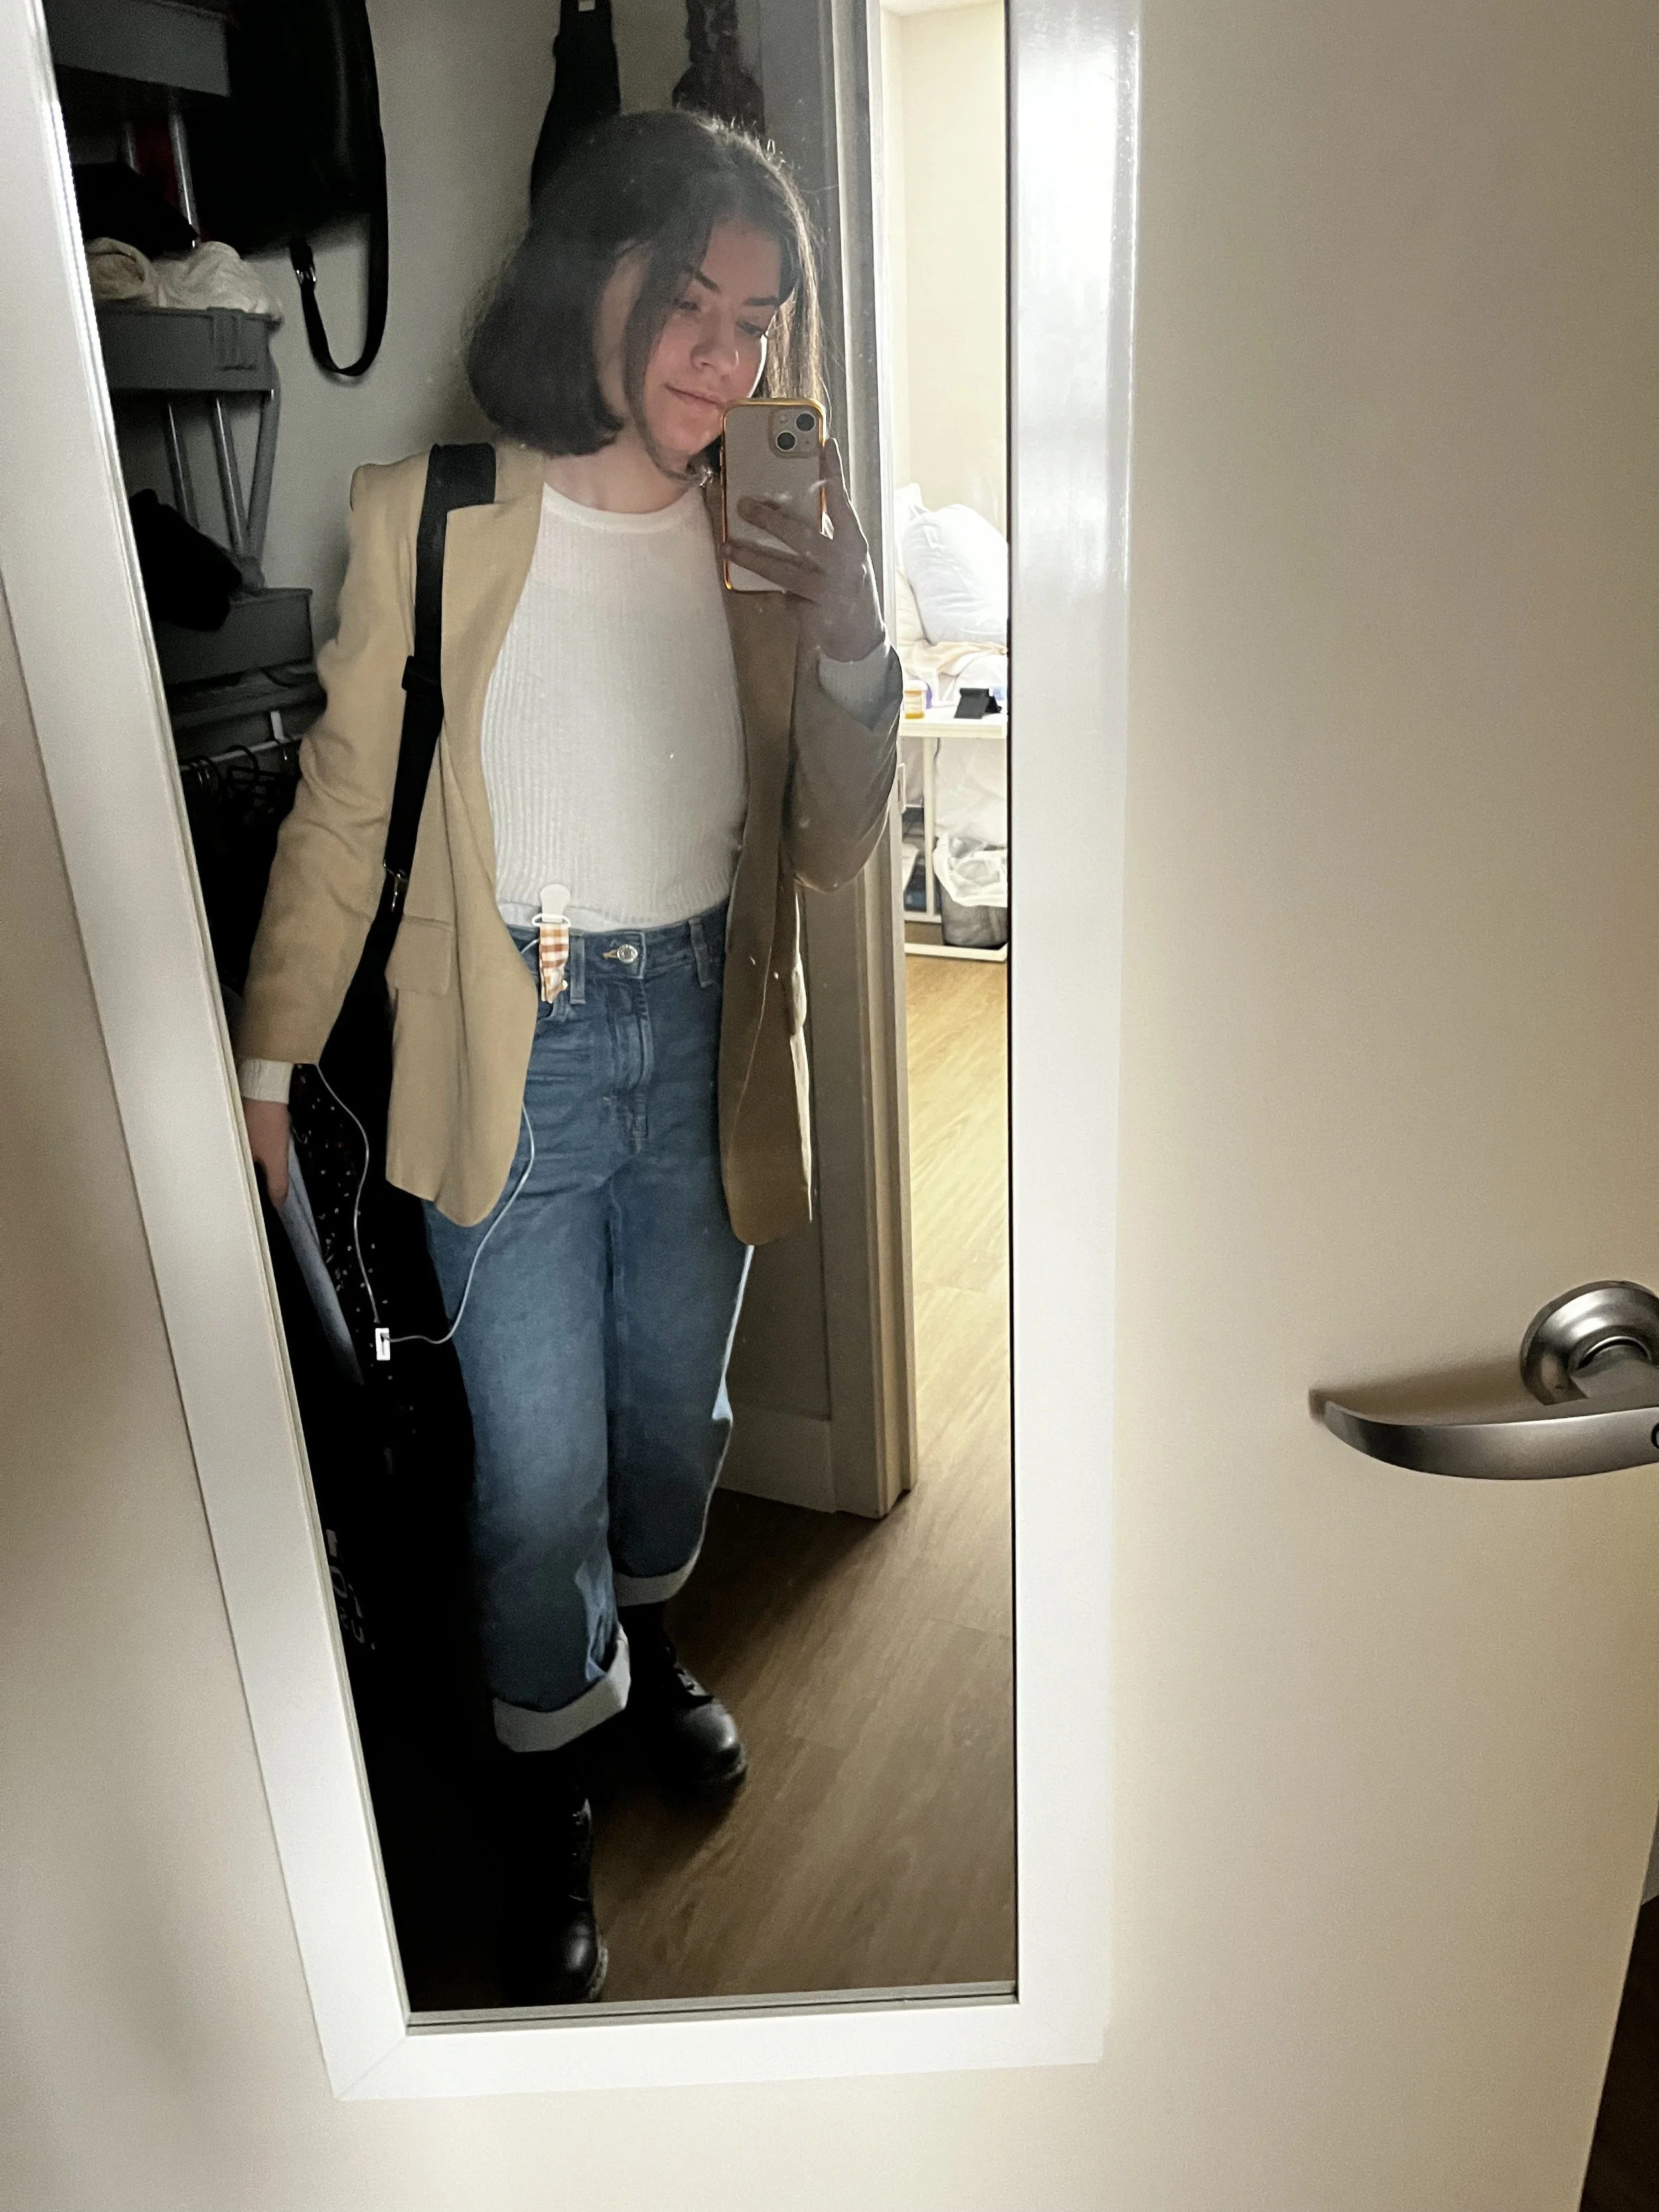
When you get a central line, you’ll need to consider what accessible clothing looks like for you. Below are some main clothing pieces that I have had to find accessible versions of.
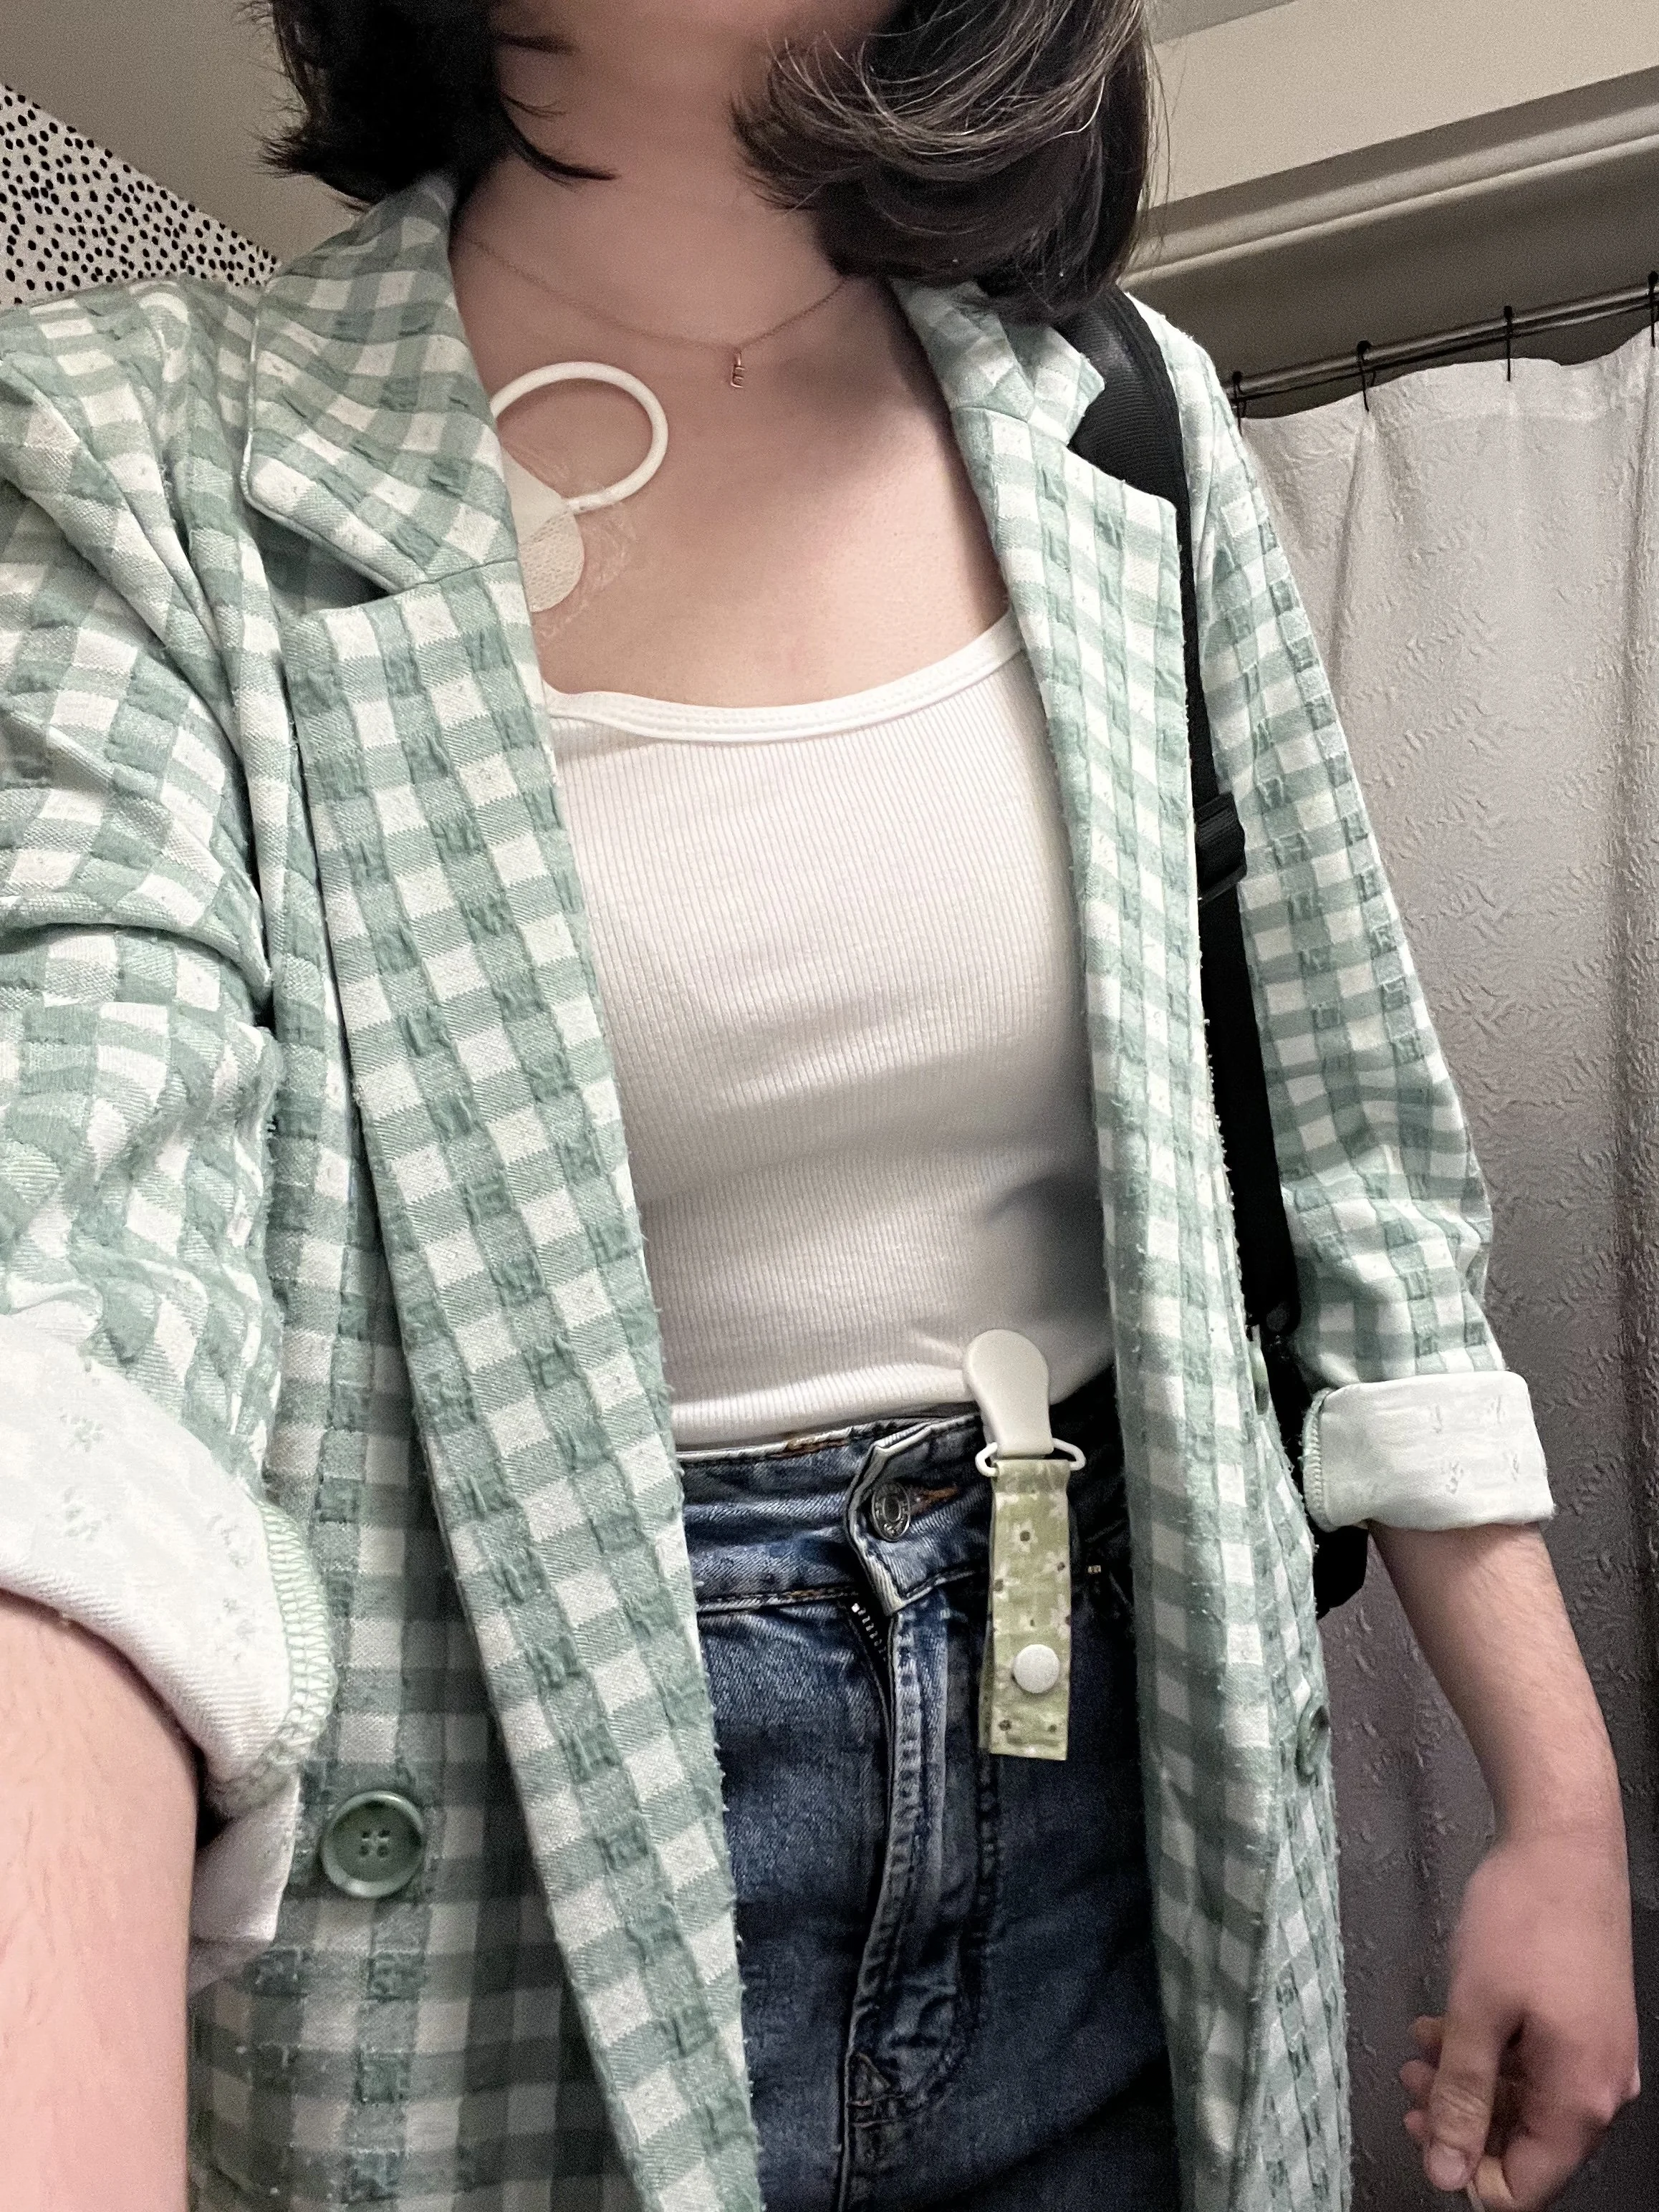
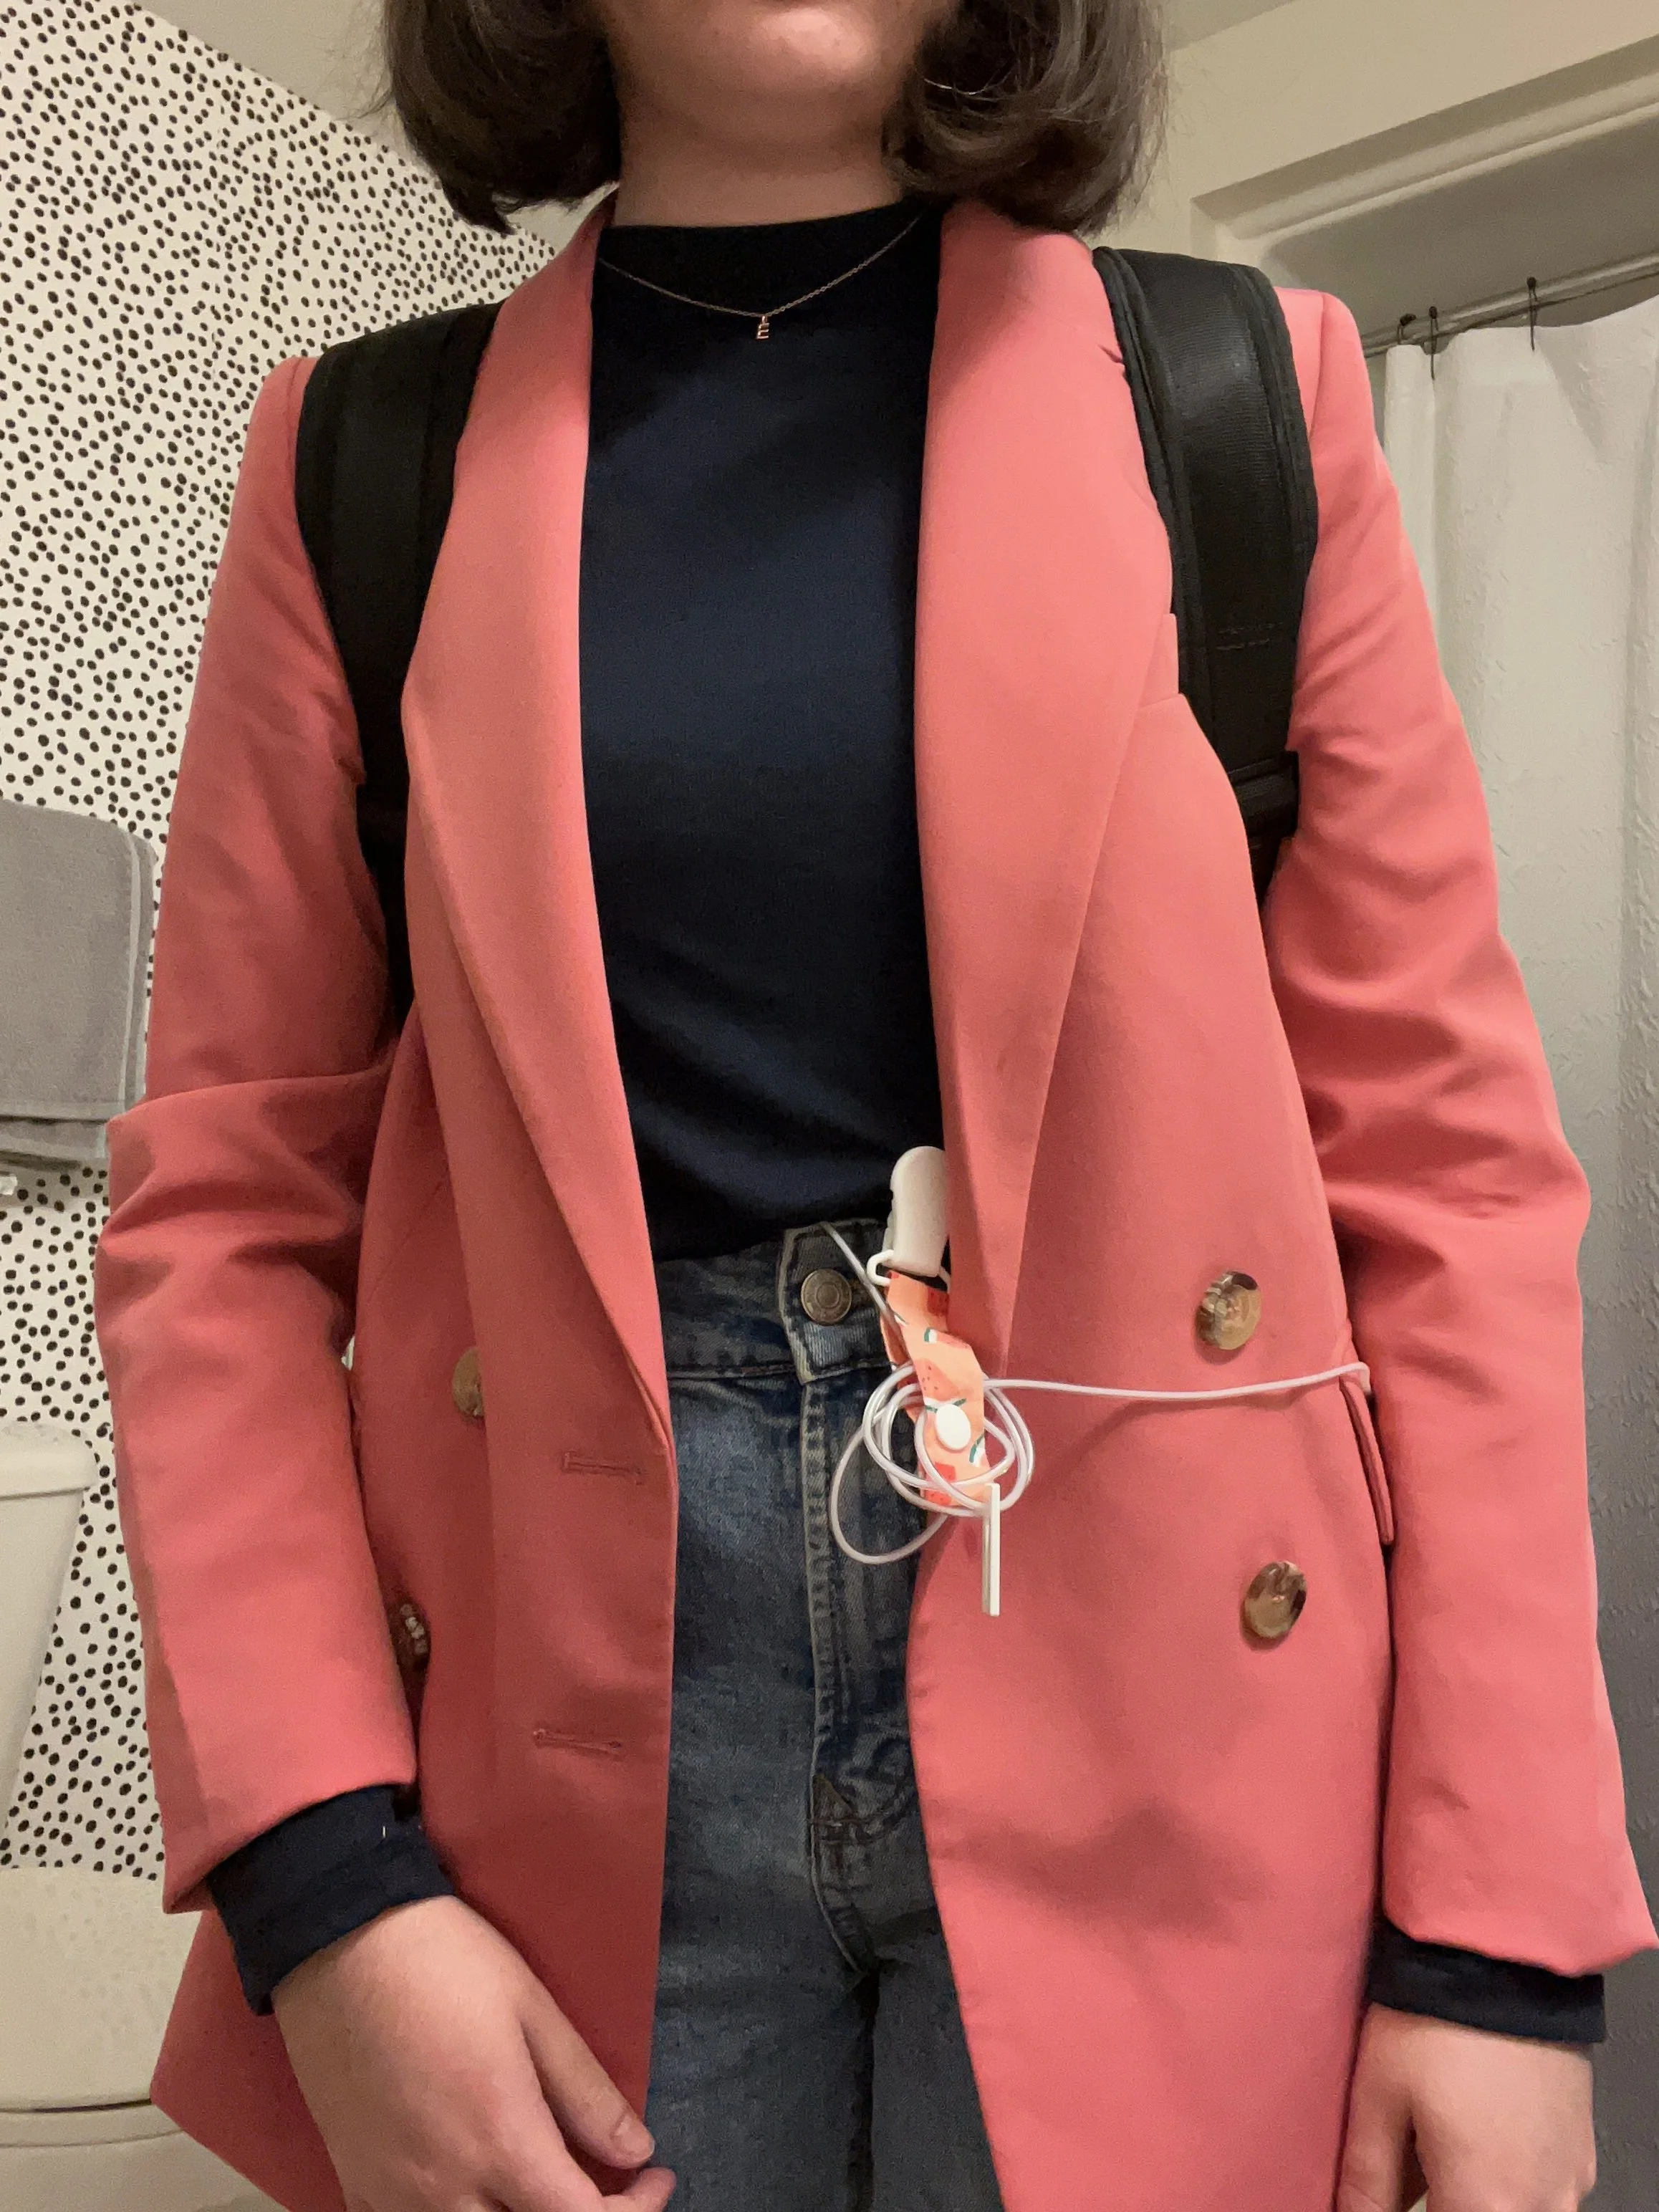
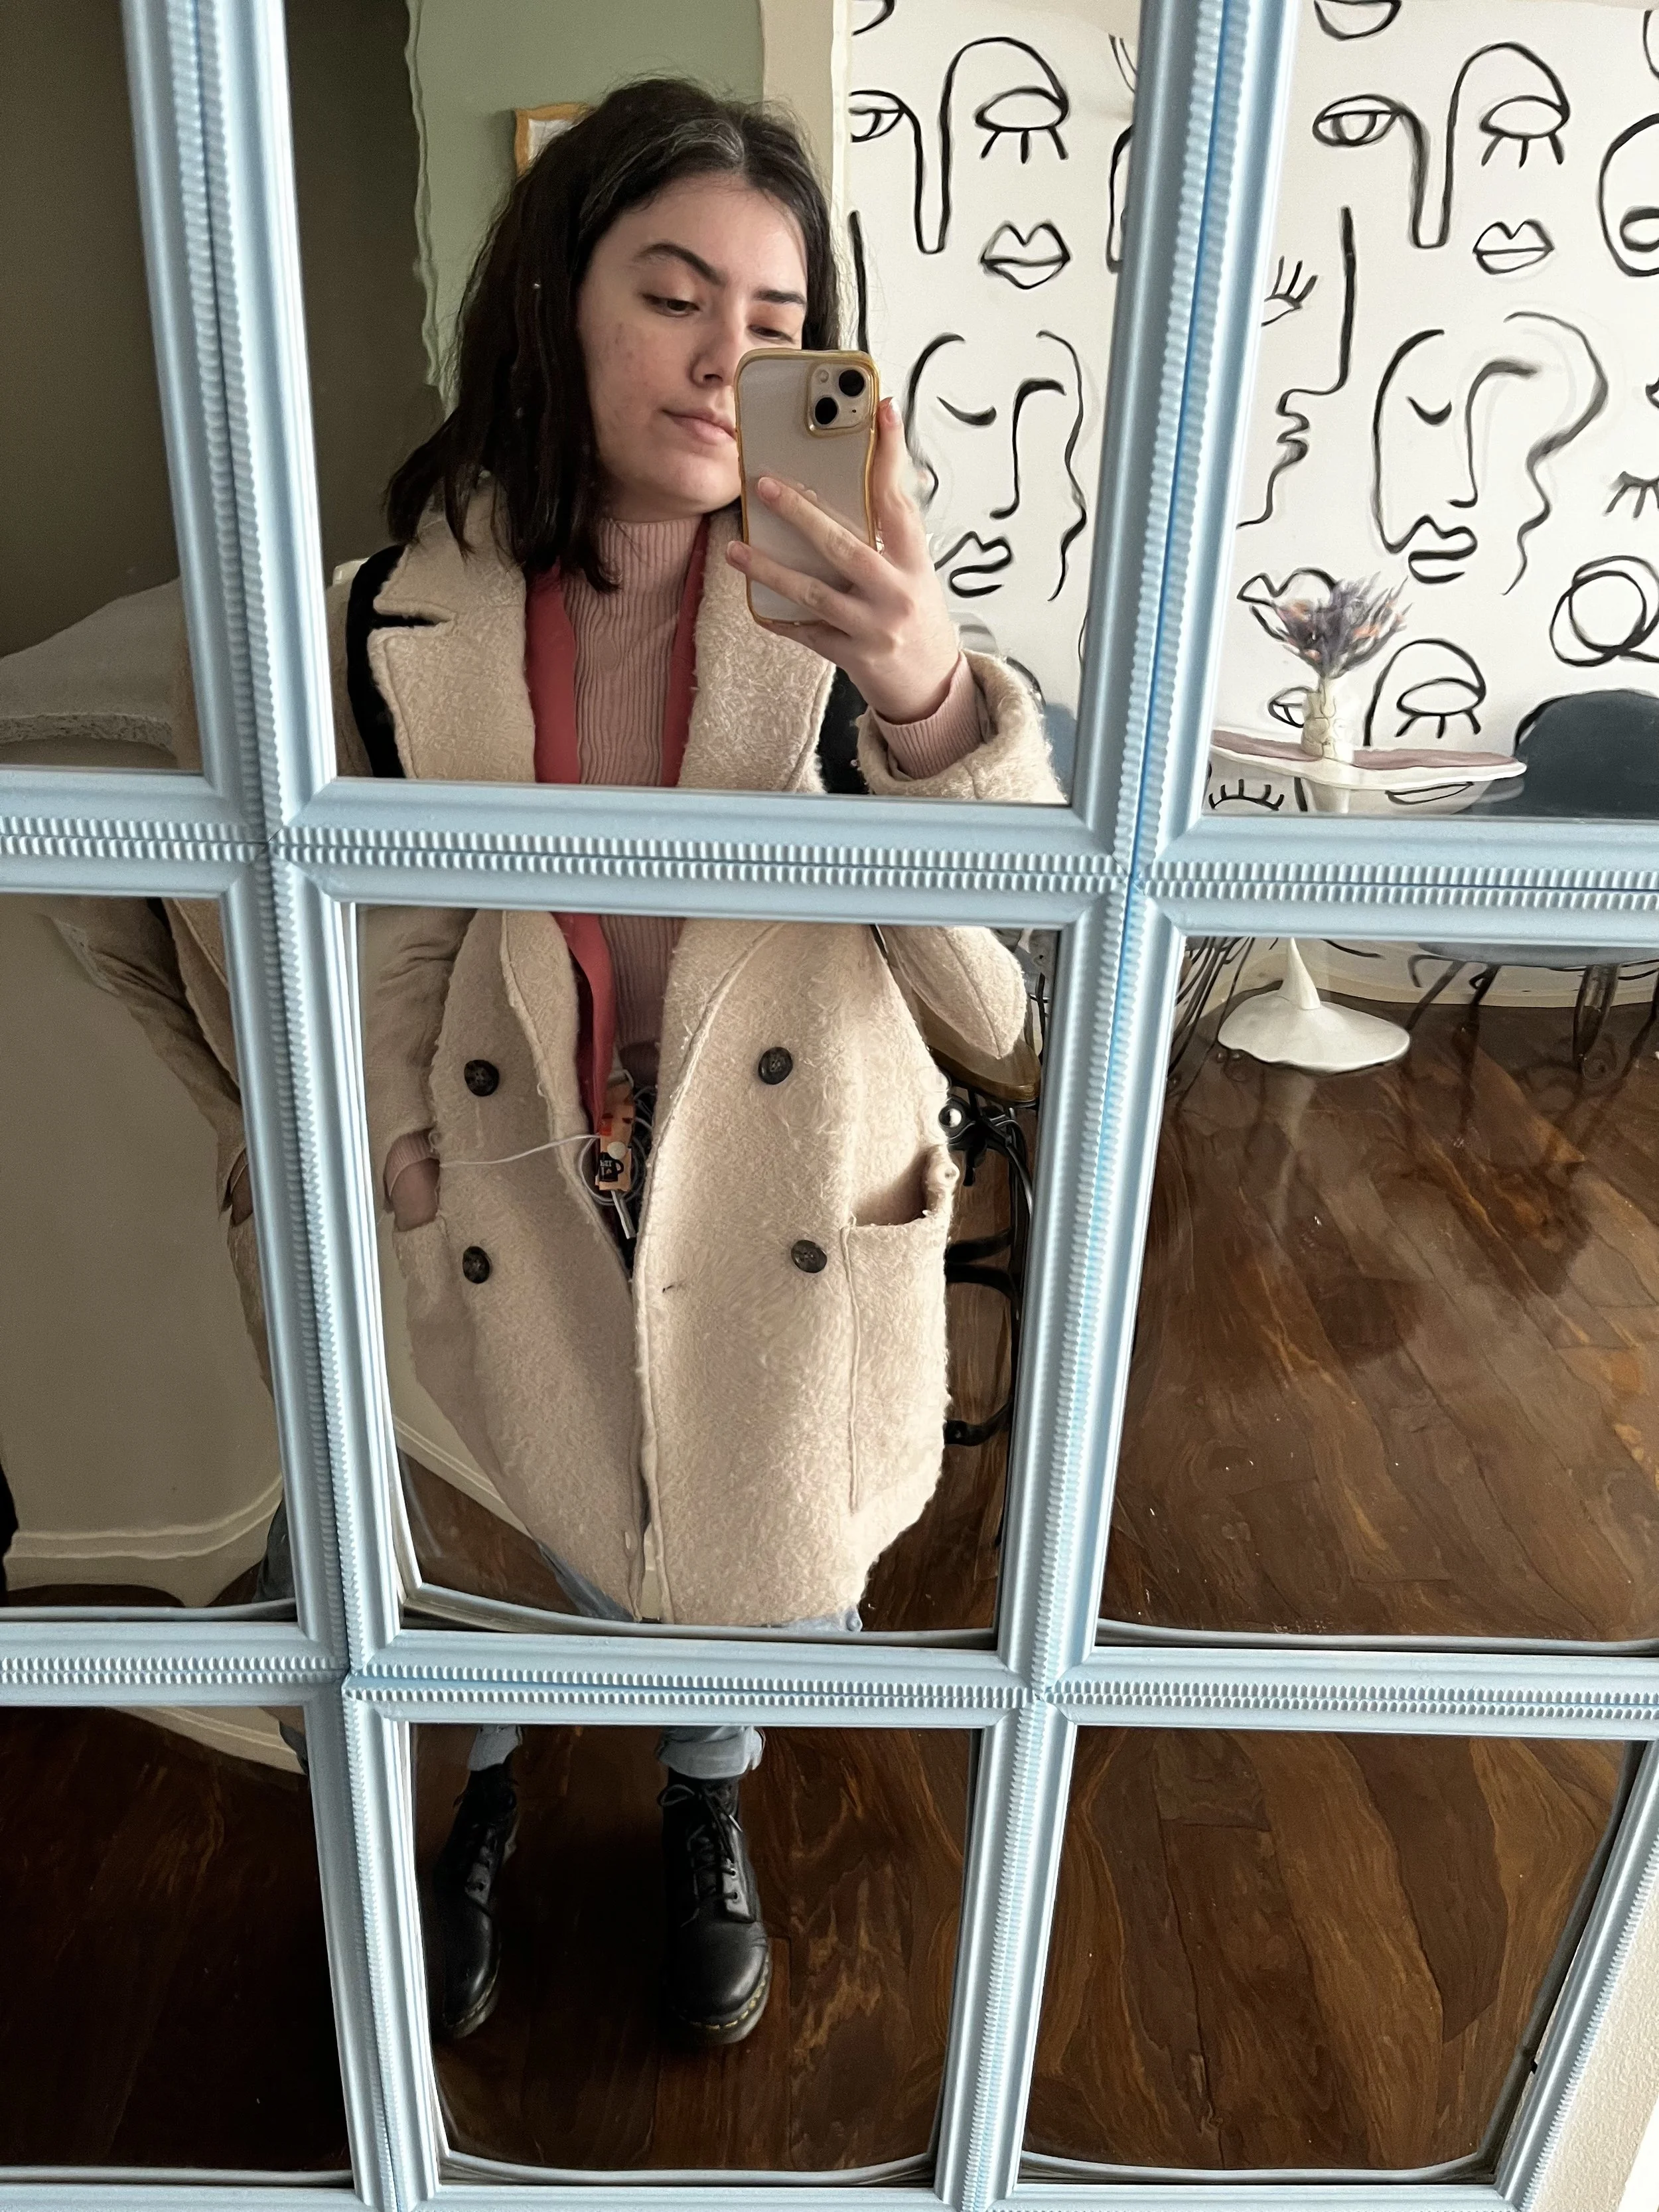
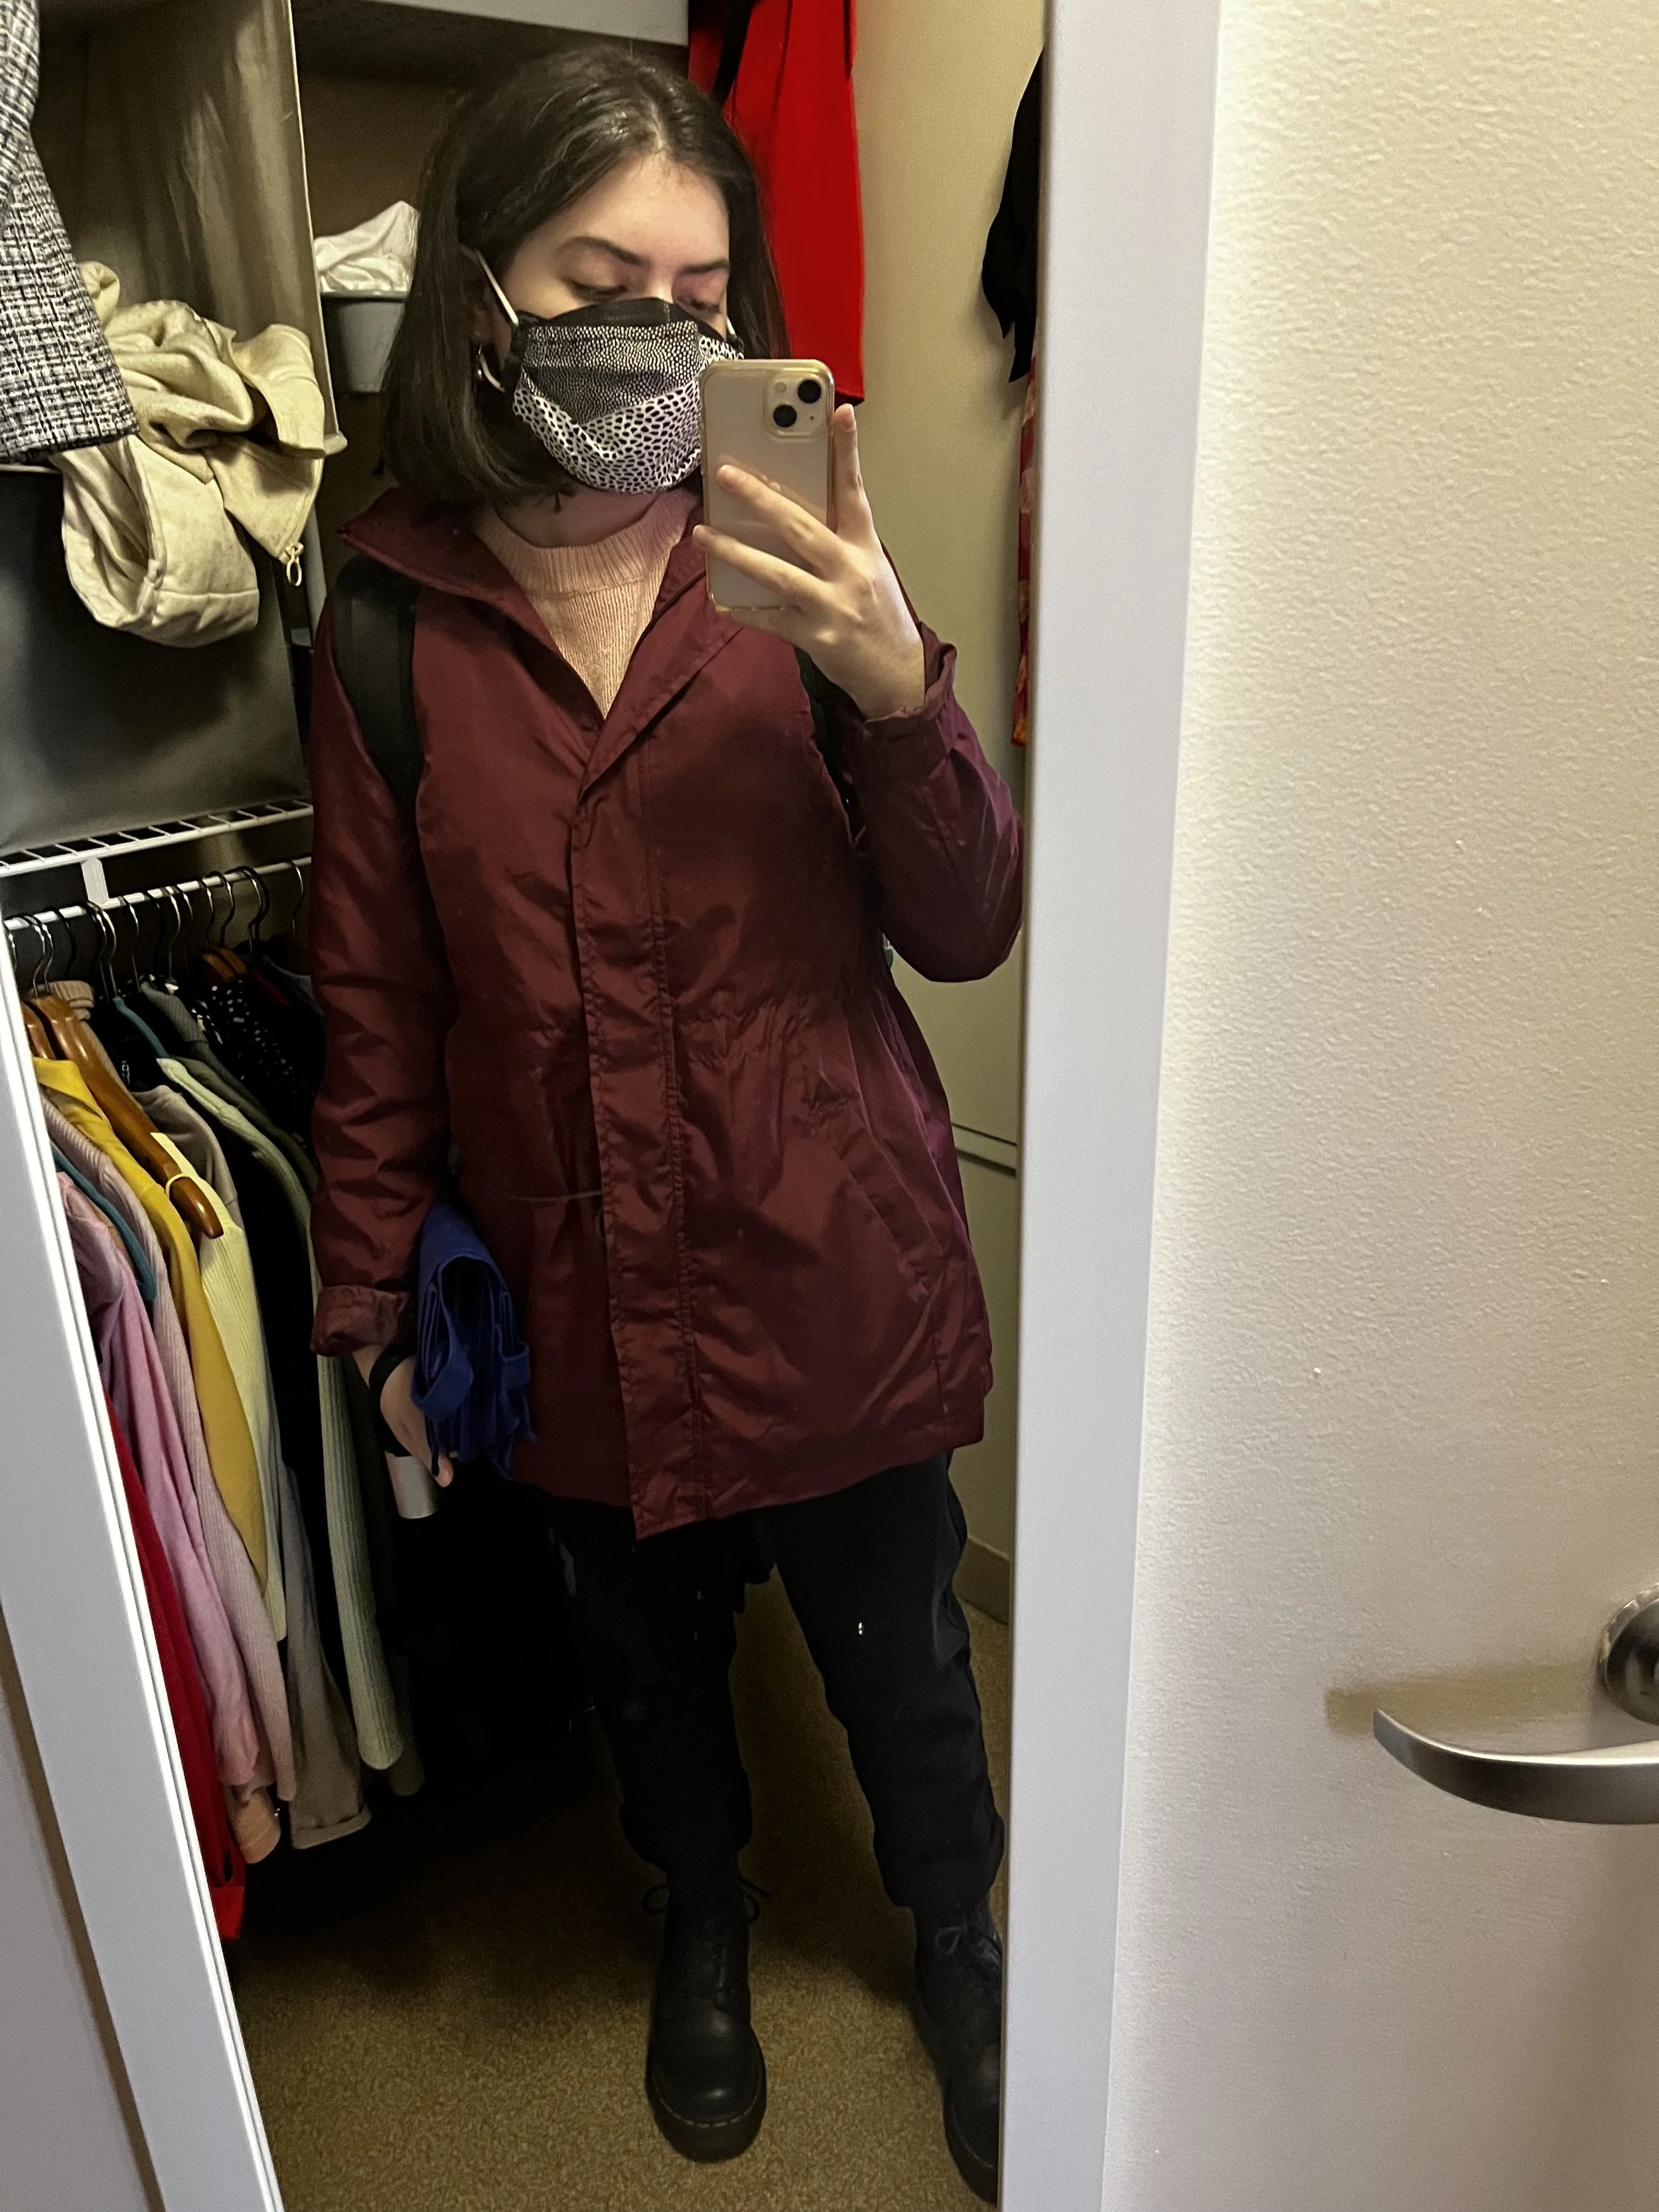
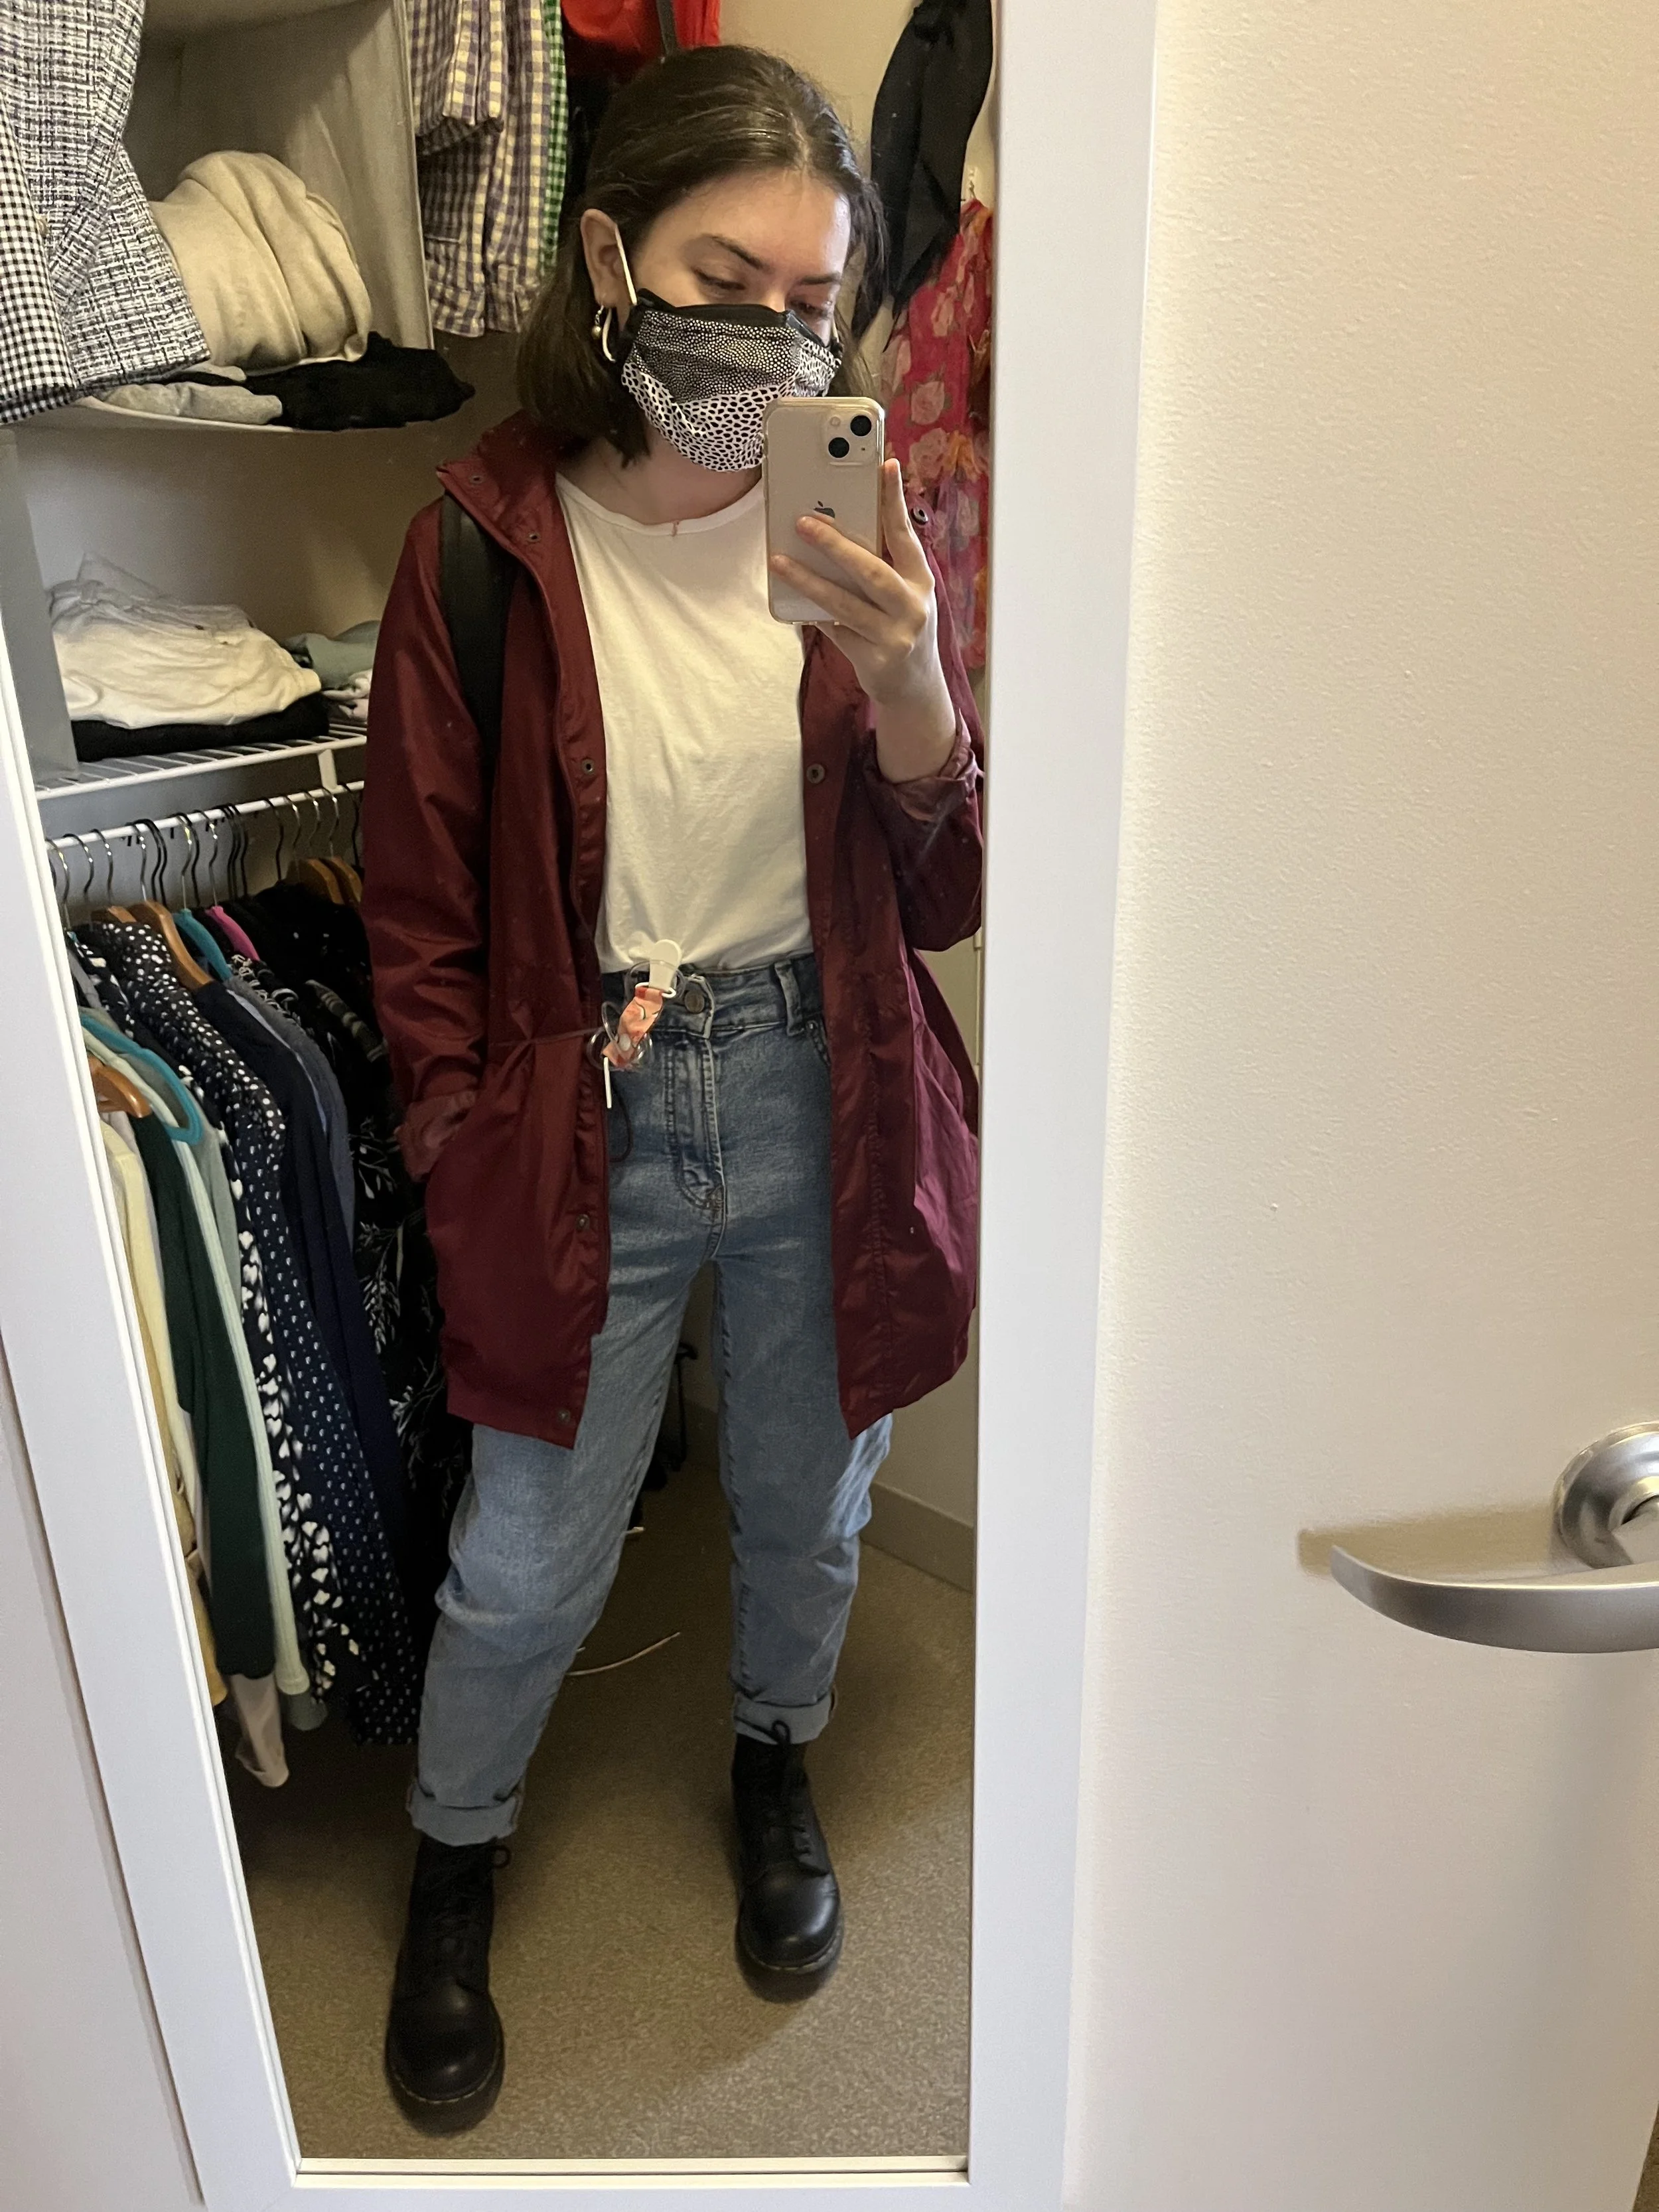
• COATS / JACKETS:
For me, as a below the shirt tubing user, inaccessible clothing looks like jackets, and/or coats with zippers. Zips don’t allow me to have my tubing come out by my waist. I use coats with buttons that allow me to put my tubing between buttons easily. I also use raincoats that utilize snap enclosures to enable me to close the jacket accessibly. If a jacket has a zipper, it has to end above/near my waist for me to be able to use it and have my tubing come out below the jacket (the same I would for a shirt).
• DRESSES / ROMPERS:
For me, when looking at dresses, consider either dresses with a cutout near the waist/hips or back to be able to feed your tubing out those areas. If not, once again, buttons or snaps are a great accessible option. For example, I got this romper for my college graduation that uses buttons so I was able to have my tubing come out near my waist.

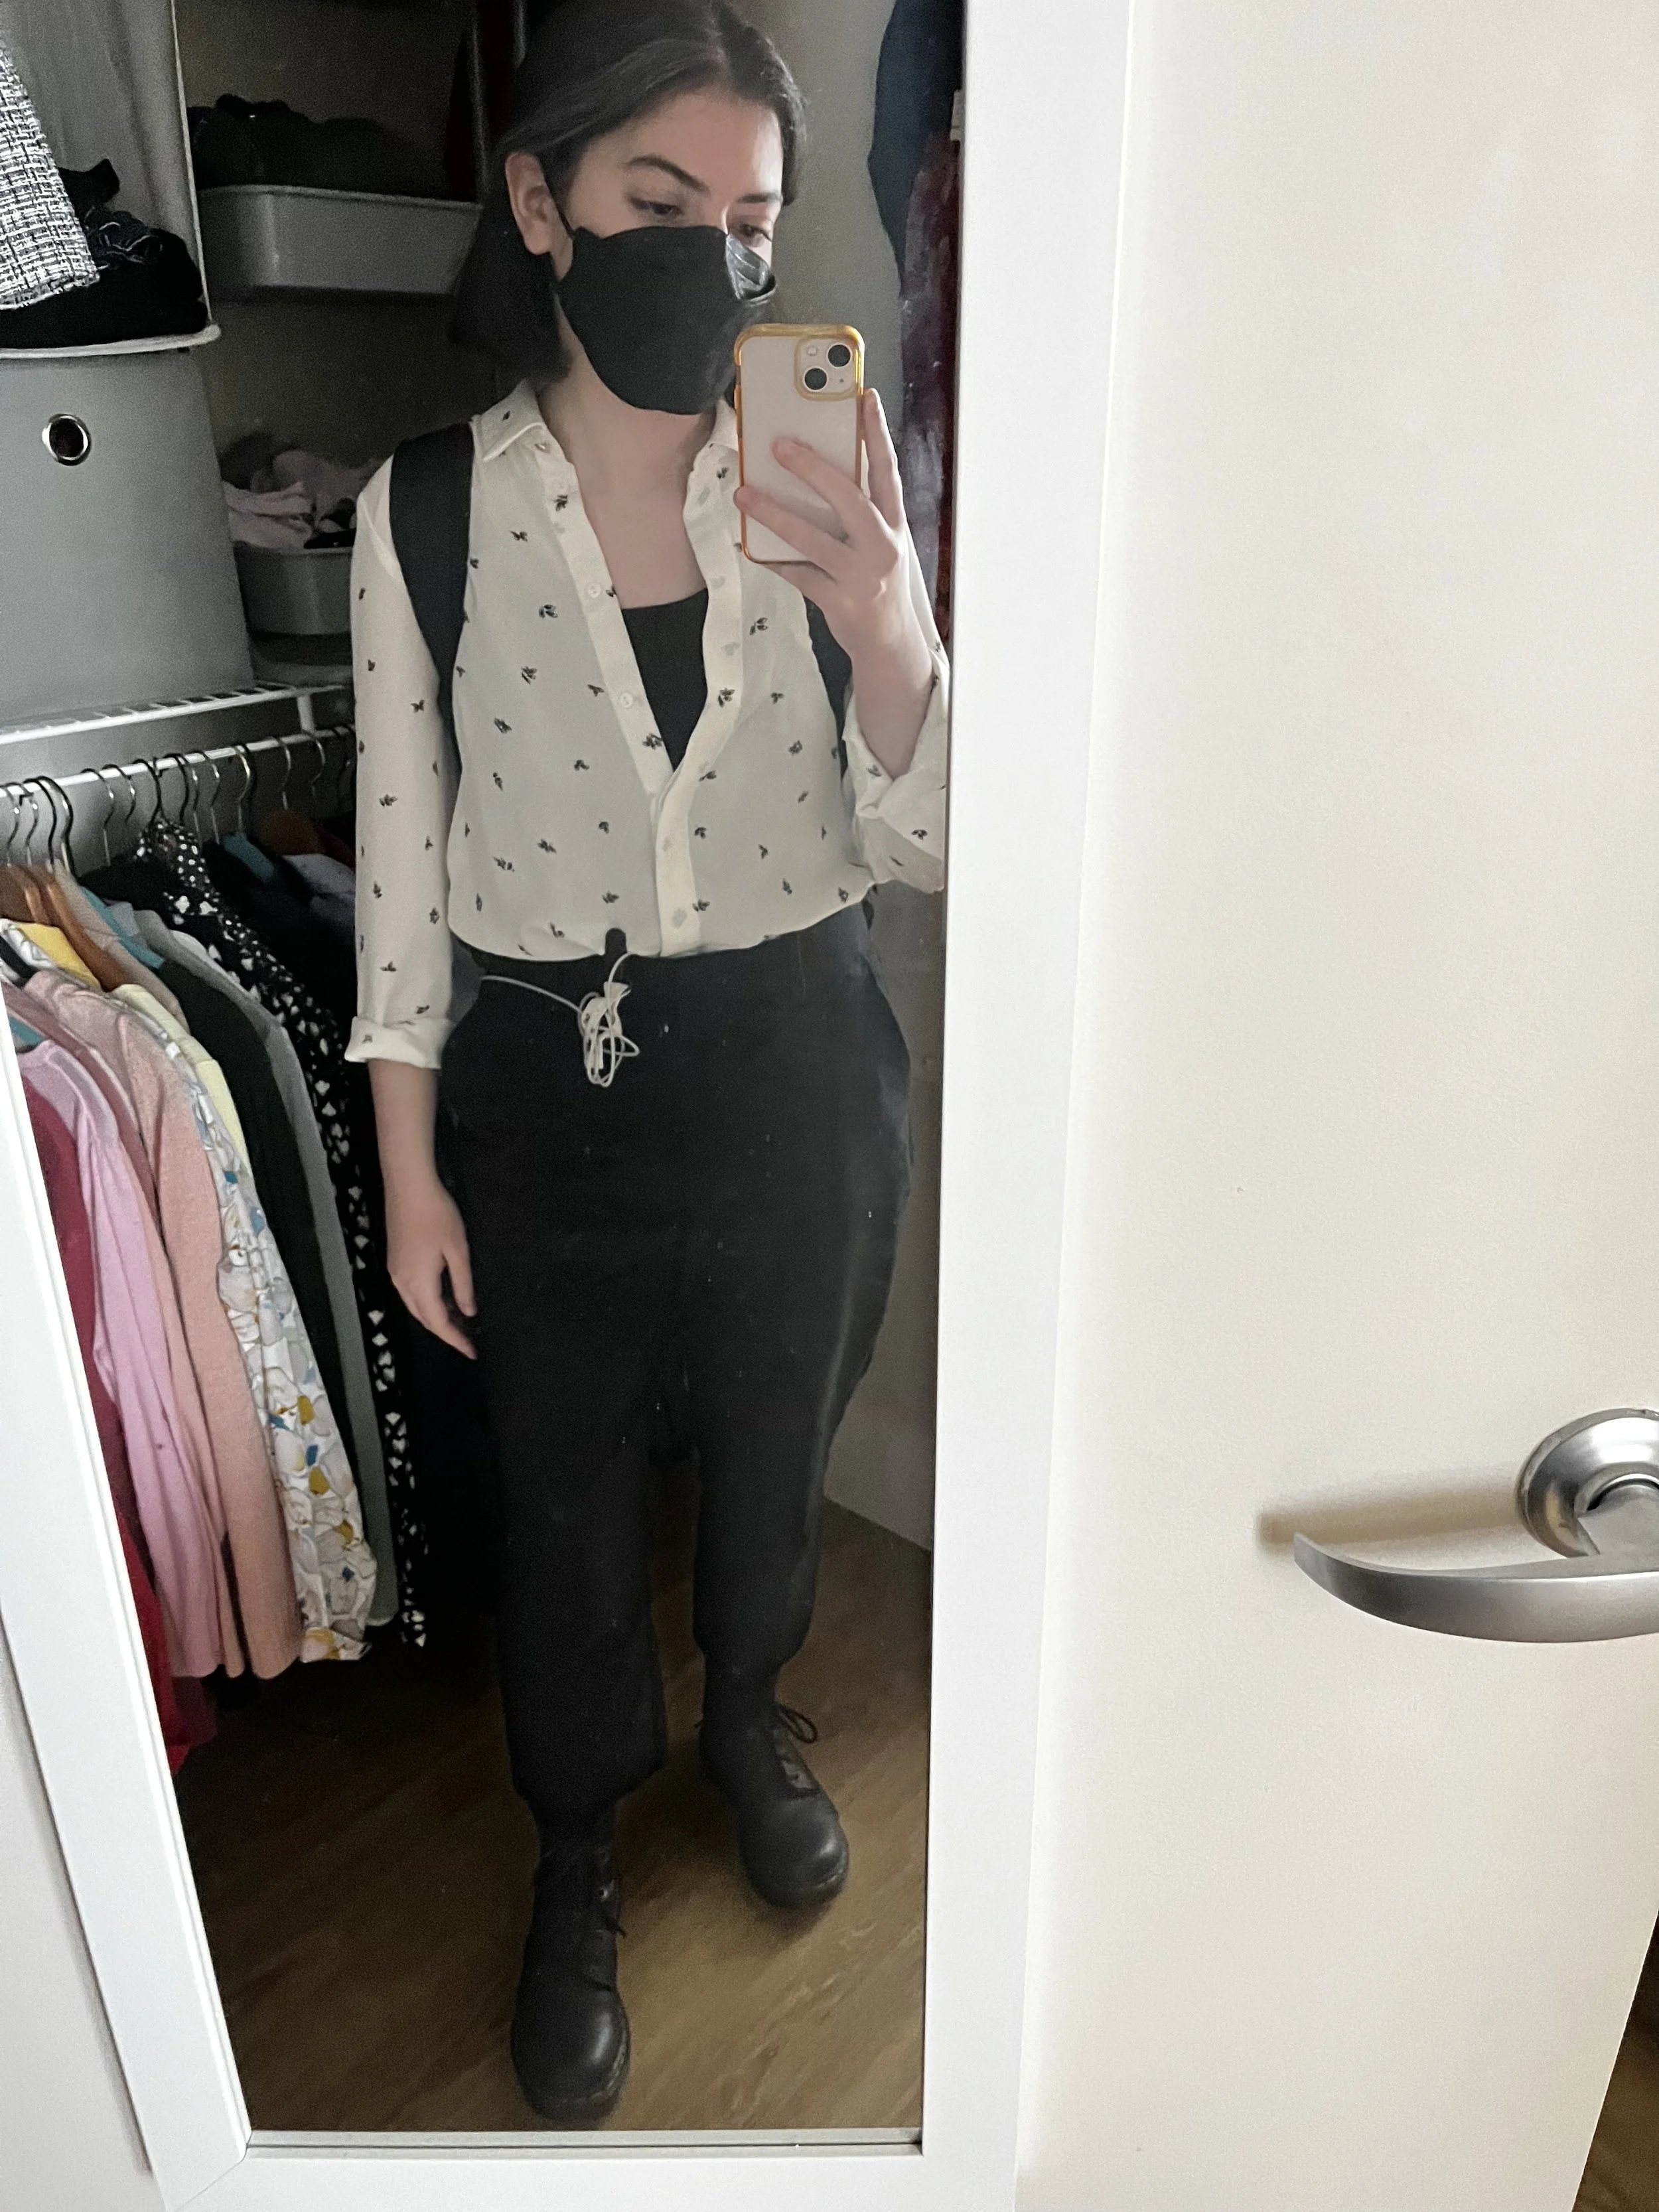
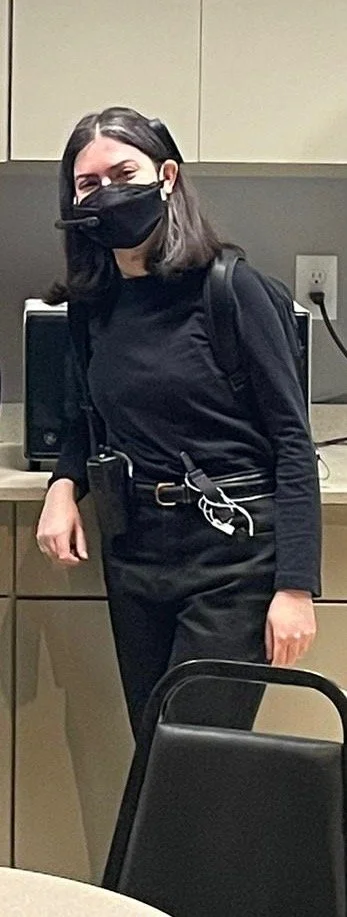
• BELTS:
For me, I’m not a big ‘belt’ user as someone with nerve issues in my abdomen; it’s an area that is really sensitive and painful for me so I try to avoid belts when I can. It can also make using tubie clips a little difficult but not impossible. I use a belt for my work attire because I have to clip walkie-talkie’s to my pants and it helps give it more to ‘grip’.
HAVE FUN
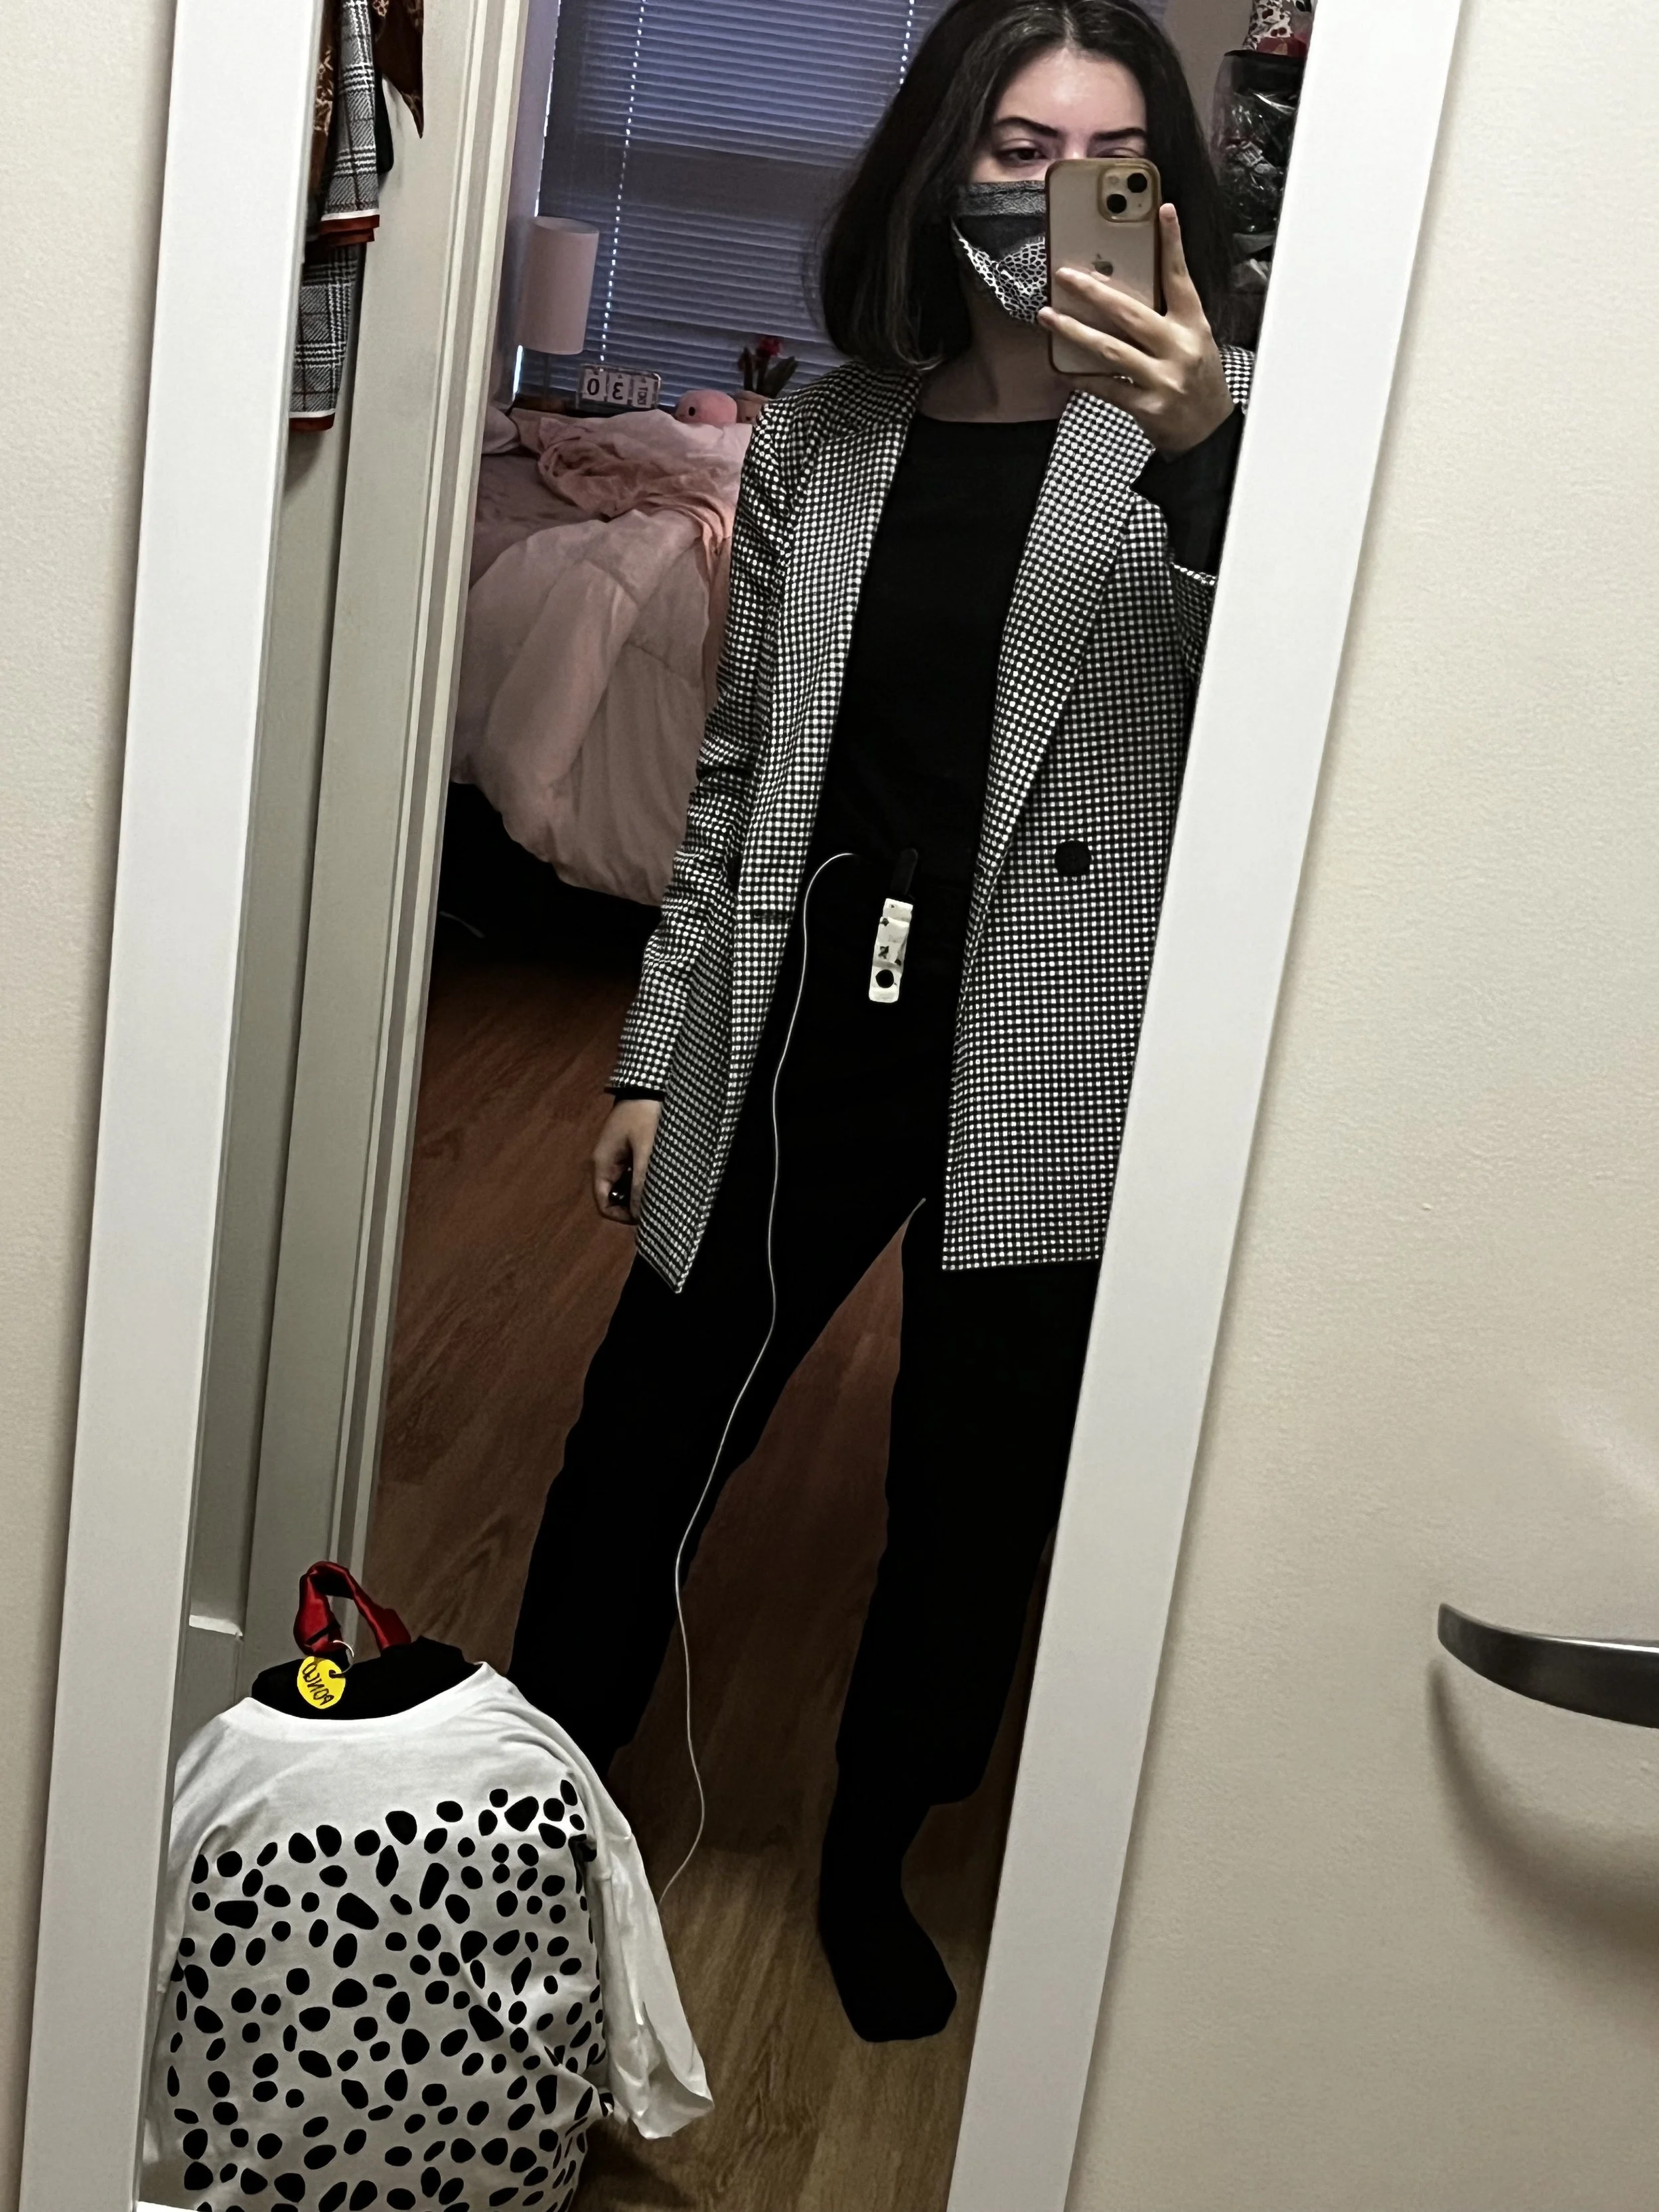
Whether it’s dressing your TPN bag up for Halloween (2023 I dressed up as Cruella and my bag as Pongo) or you get festive season-themed tubie clips for the holidays, remember that while TPN and central lines can change your life SO much, it doesn’t have to take away everything that made you, you.
Have fun and happy styling!